Black and white strips a street scene down to what matters: light, shadow, and whatever — or whoever — is moving through it.
That’s why it’s been the default of street photography for a hundred years — from Cartier-Bresson to Vivian Maier to whatever shows up in your feed tomorrow.
Color competes for attention. Black and white removes the competition.
These 7 tips will help you shoot stronger black and white street photos, whether you’re working with a Leica or the iPhone in your pocket.
Most of these are about seeing differently, not changing your gear.
1. Shoot in Black and White from the Start

The conventional wisdom is to shoot in color and convert later in post-editing for “more flexibility”. Ignore it.
When your viewfinder shows you a black and white scene in real time, you start composing for it.
You start noticing things you’d otherwise scroll past — a shaft of light cutting across a doorway, the contrast between a pale shirt and a dark wall, the way a single shadow runs diagonally through an empty crosswalk.
None of that registers the same way when you’re staring at a colorful preview.
If you shoot RAW, you’ll still keep the color file underneath — so you lose nothing.
On a mirrorless or DSLR: set your camera profile to monochrome (Fujifilm’s Acros simulation is famous for a reason), and shoot RAW + JPEG so you have both files.
On Android: most stock camera apps (Samsung, Pixel, OnePlus) have a mono or black-and-white filter in the filter menu — the exact path varies by phone, but it’s usually one or two taps away.
On iPhone: open the Camera app, tap the arrow at the top (or swipe up), tap the three-circle Filters icon, and select Noir. The filter is non-destructive and lives on top of the original.
Speaking of iPhone street photography…
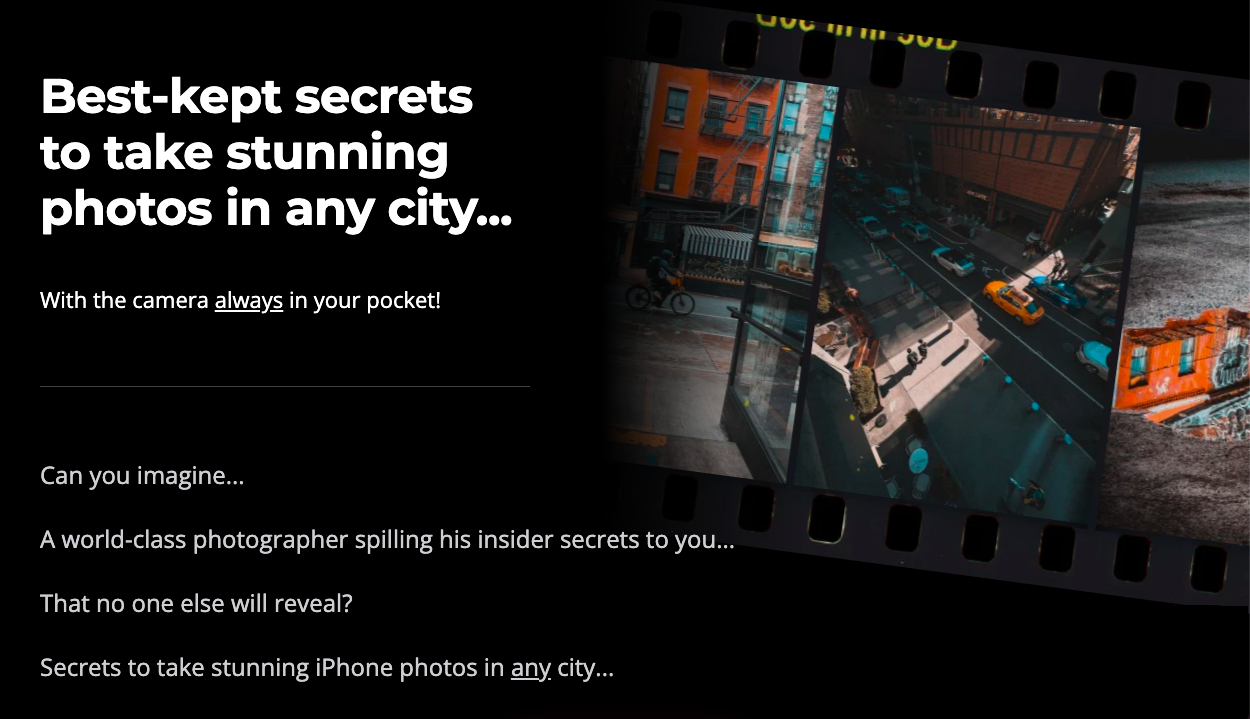
If you shoot mostly on iPhone and want to go deeper into this style, Urban iPhone Photography is the best course I’ve found (and it includes a B&W photography eBook as a bonus).
2. Look for Empty Space, Not Busy Streets
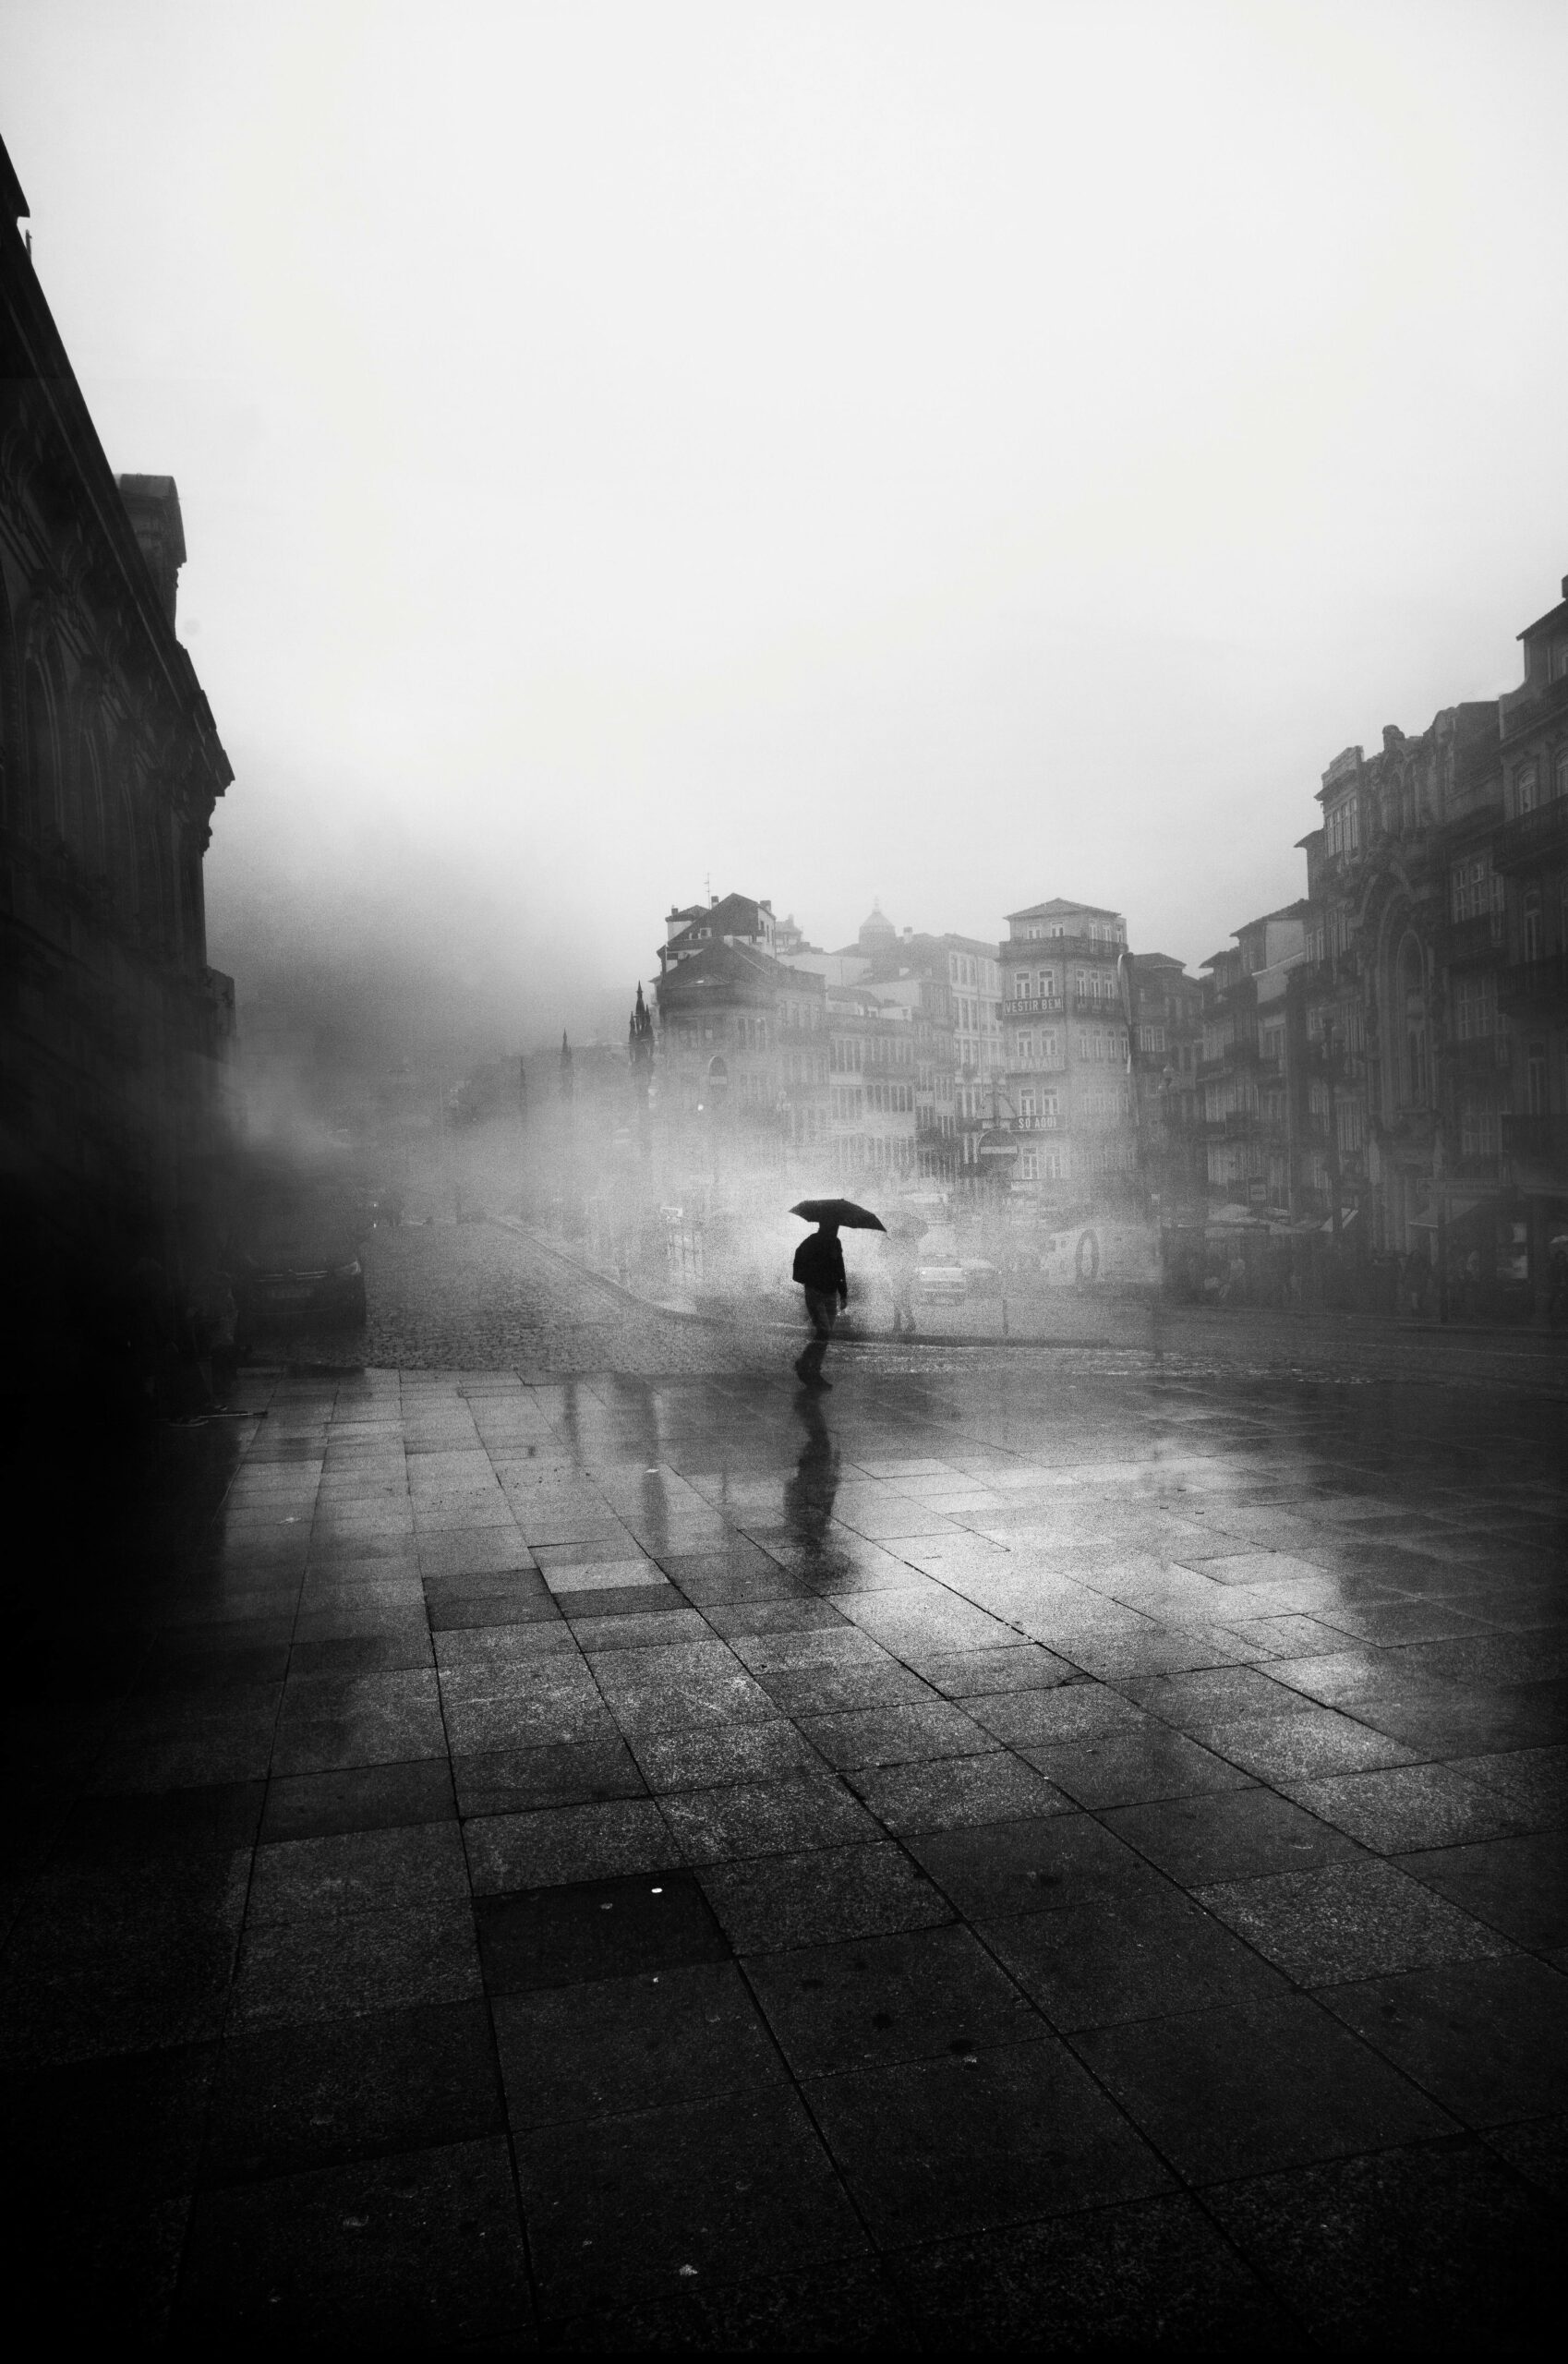
Beginners walk into the most chaotic intersection they can find and wonder why their photos feel cluttered.
The strongest black and white street shots usually have one subject and a lot of negative space around them.
Think a person walking across an empty plaza, or a figure dwarfed by a blank wall behind them.
The eye needs somewhere to rest before it lands on the subject.
Find spaces that are quiet by design — large public squares, museum courtyards, the underside of a bridge, an empty staircase, the long corridor of a subway platform between trains.
Position yourself, then wait.
Someone will walk through. That’s your shot.
When you frame, leave more empty space than feels natural.
Most of us crop too tight. Black and white forgives a small subject in a big frame; in fact, it usually demands it.
3. Use Leading Lines to Pull the Eye
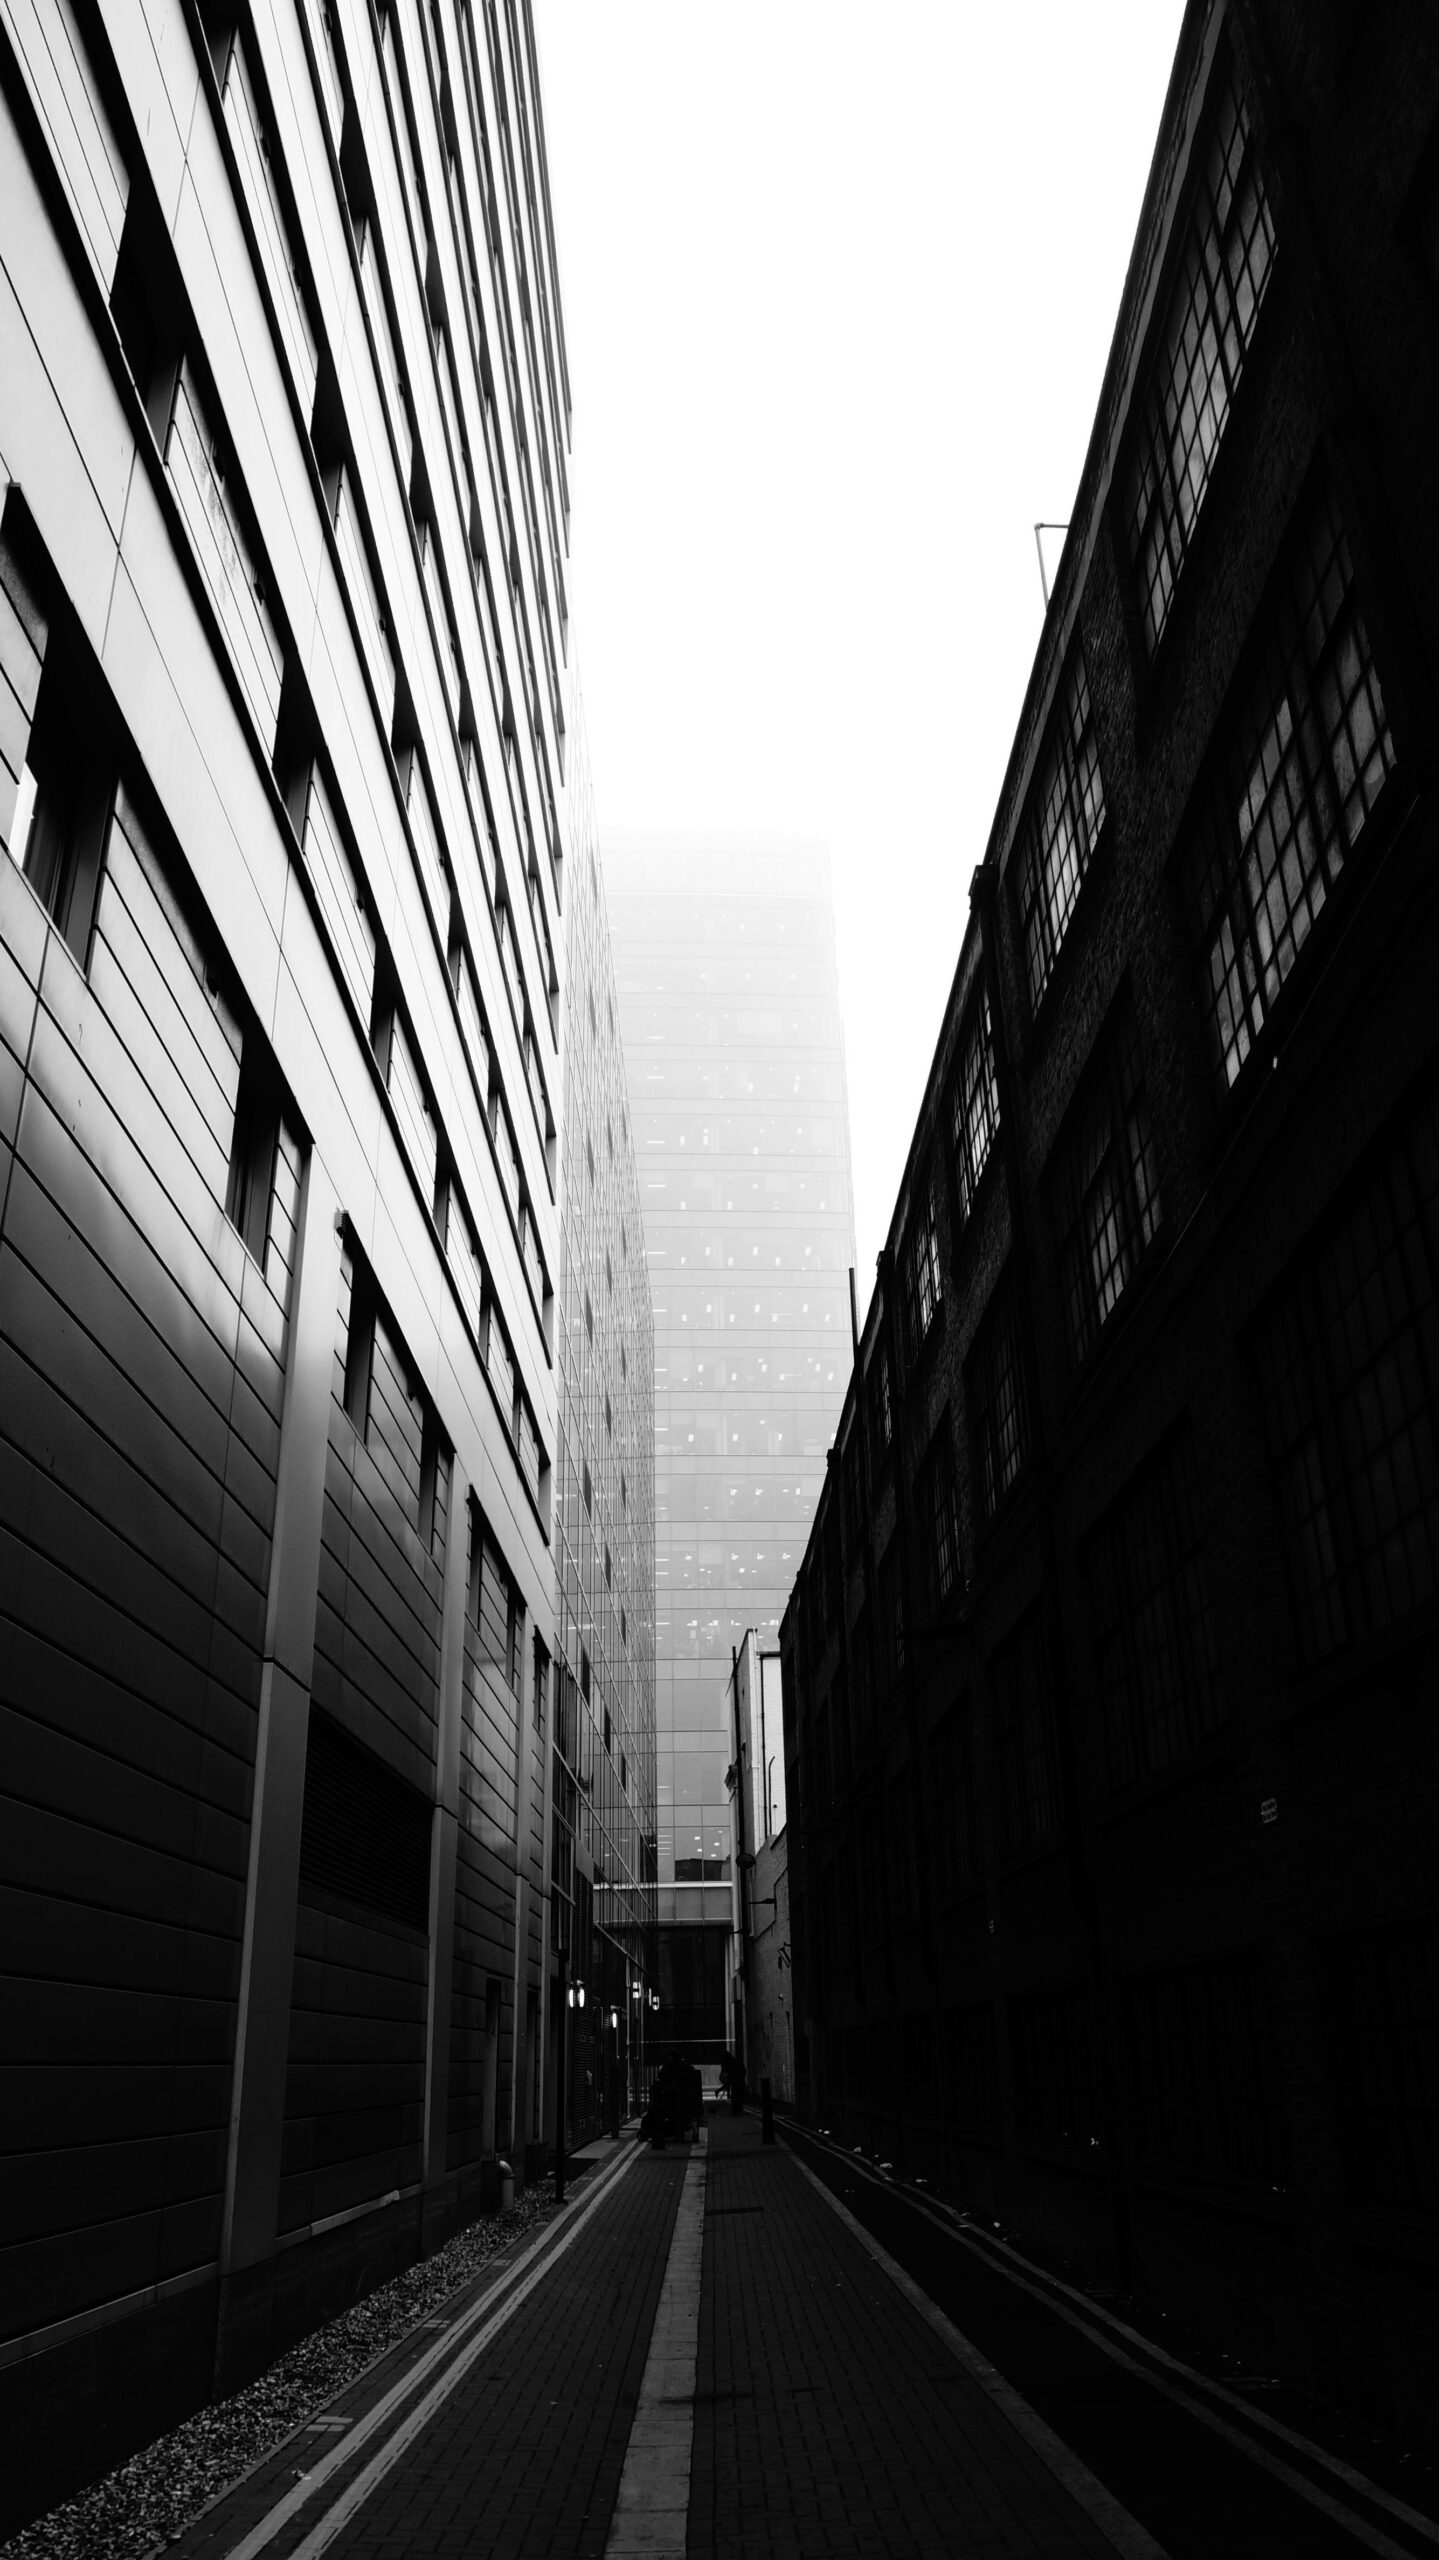
Lines do the navigational work in a photo.
Without color cues, the viewer’s eye follows whatever geometry is strongest. So give it good geometry to follow.
Cities are built out of lines.
Crosswalks, train tracks, cobblestone seams, the edge of a building meeting the pavement, a staircase spiraling up from below — once you start looking, you’ll see them everywhere.
The classic move: position the line so it enters from a corner of the frame and leads toward your subject. The subject sits where the line goes. Or, if the line is curved, where it terminates.
Spiral staircases shot from above are almost cheating.
They’re so geometrically interesting that even an empty one works. Add a person at the bottom and you’ve got a portfolio piece.
4. Hunt for Patterns and Repetition

Once you start training your eye for repetition, you’ll see it everywhere — and most photographers miss it entirely.
Look up at building facades — rows of windows, arches in colonnades, the grid of a parking structure.
Look down at subway tile or roof tiles seen from a hill. Even the slats of a metal fence can carry an image.
Patterns work in black and white photography because they create rhythm.
The eye scans across the repeating element, then catches on whatever breaks the pattern — usually a person. That break is your photo.
Two ways to compose pattern shots: shoot straight-on for a flat, graphic, almost abstract feel, or shoot at an angle so the pattern recedes into the distance and creates depth.
Both work. Pick one based on what the scene gives you.
5. Frame Your Subject With Architecture
A doorway. An archway. A tunnel. The square of a window from inside a café looking out. Anything that brackets your subject within the frame.
This trick works in color too, but it works better in black and white because the frame doesn’t compete for attention. It just contains.
Get yourself in position with the frame composed, then wait for someone to walk into the right spot.
Burst mode is your friend here — fire off ten frames as the person crosses, pick the one where their position and posture is best.
If you’re shooting from inside looking out toward bright light, your camera will overexpose.
On iPhone, tap the screen to lock focus, then drag the exposure slider down. Try -1 first; -2 if the background is really blown out. The shadows inside the frame will go nearly black, which is exactly what you want.
On Android: tap to focus on your subject, then look for a sun or +/− icon near the focus point and drag it down to reduce exposure.
6. Shoot Into the Light for Silhouettes
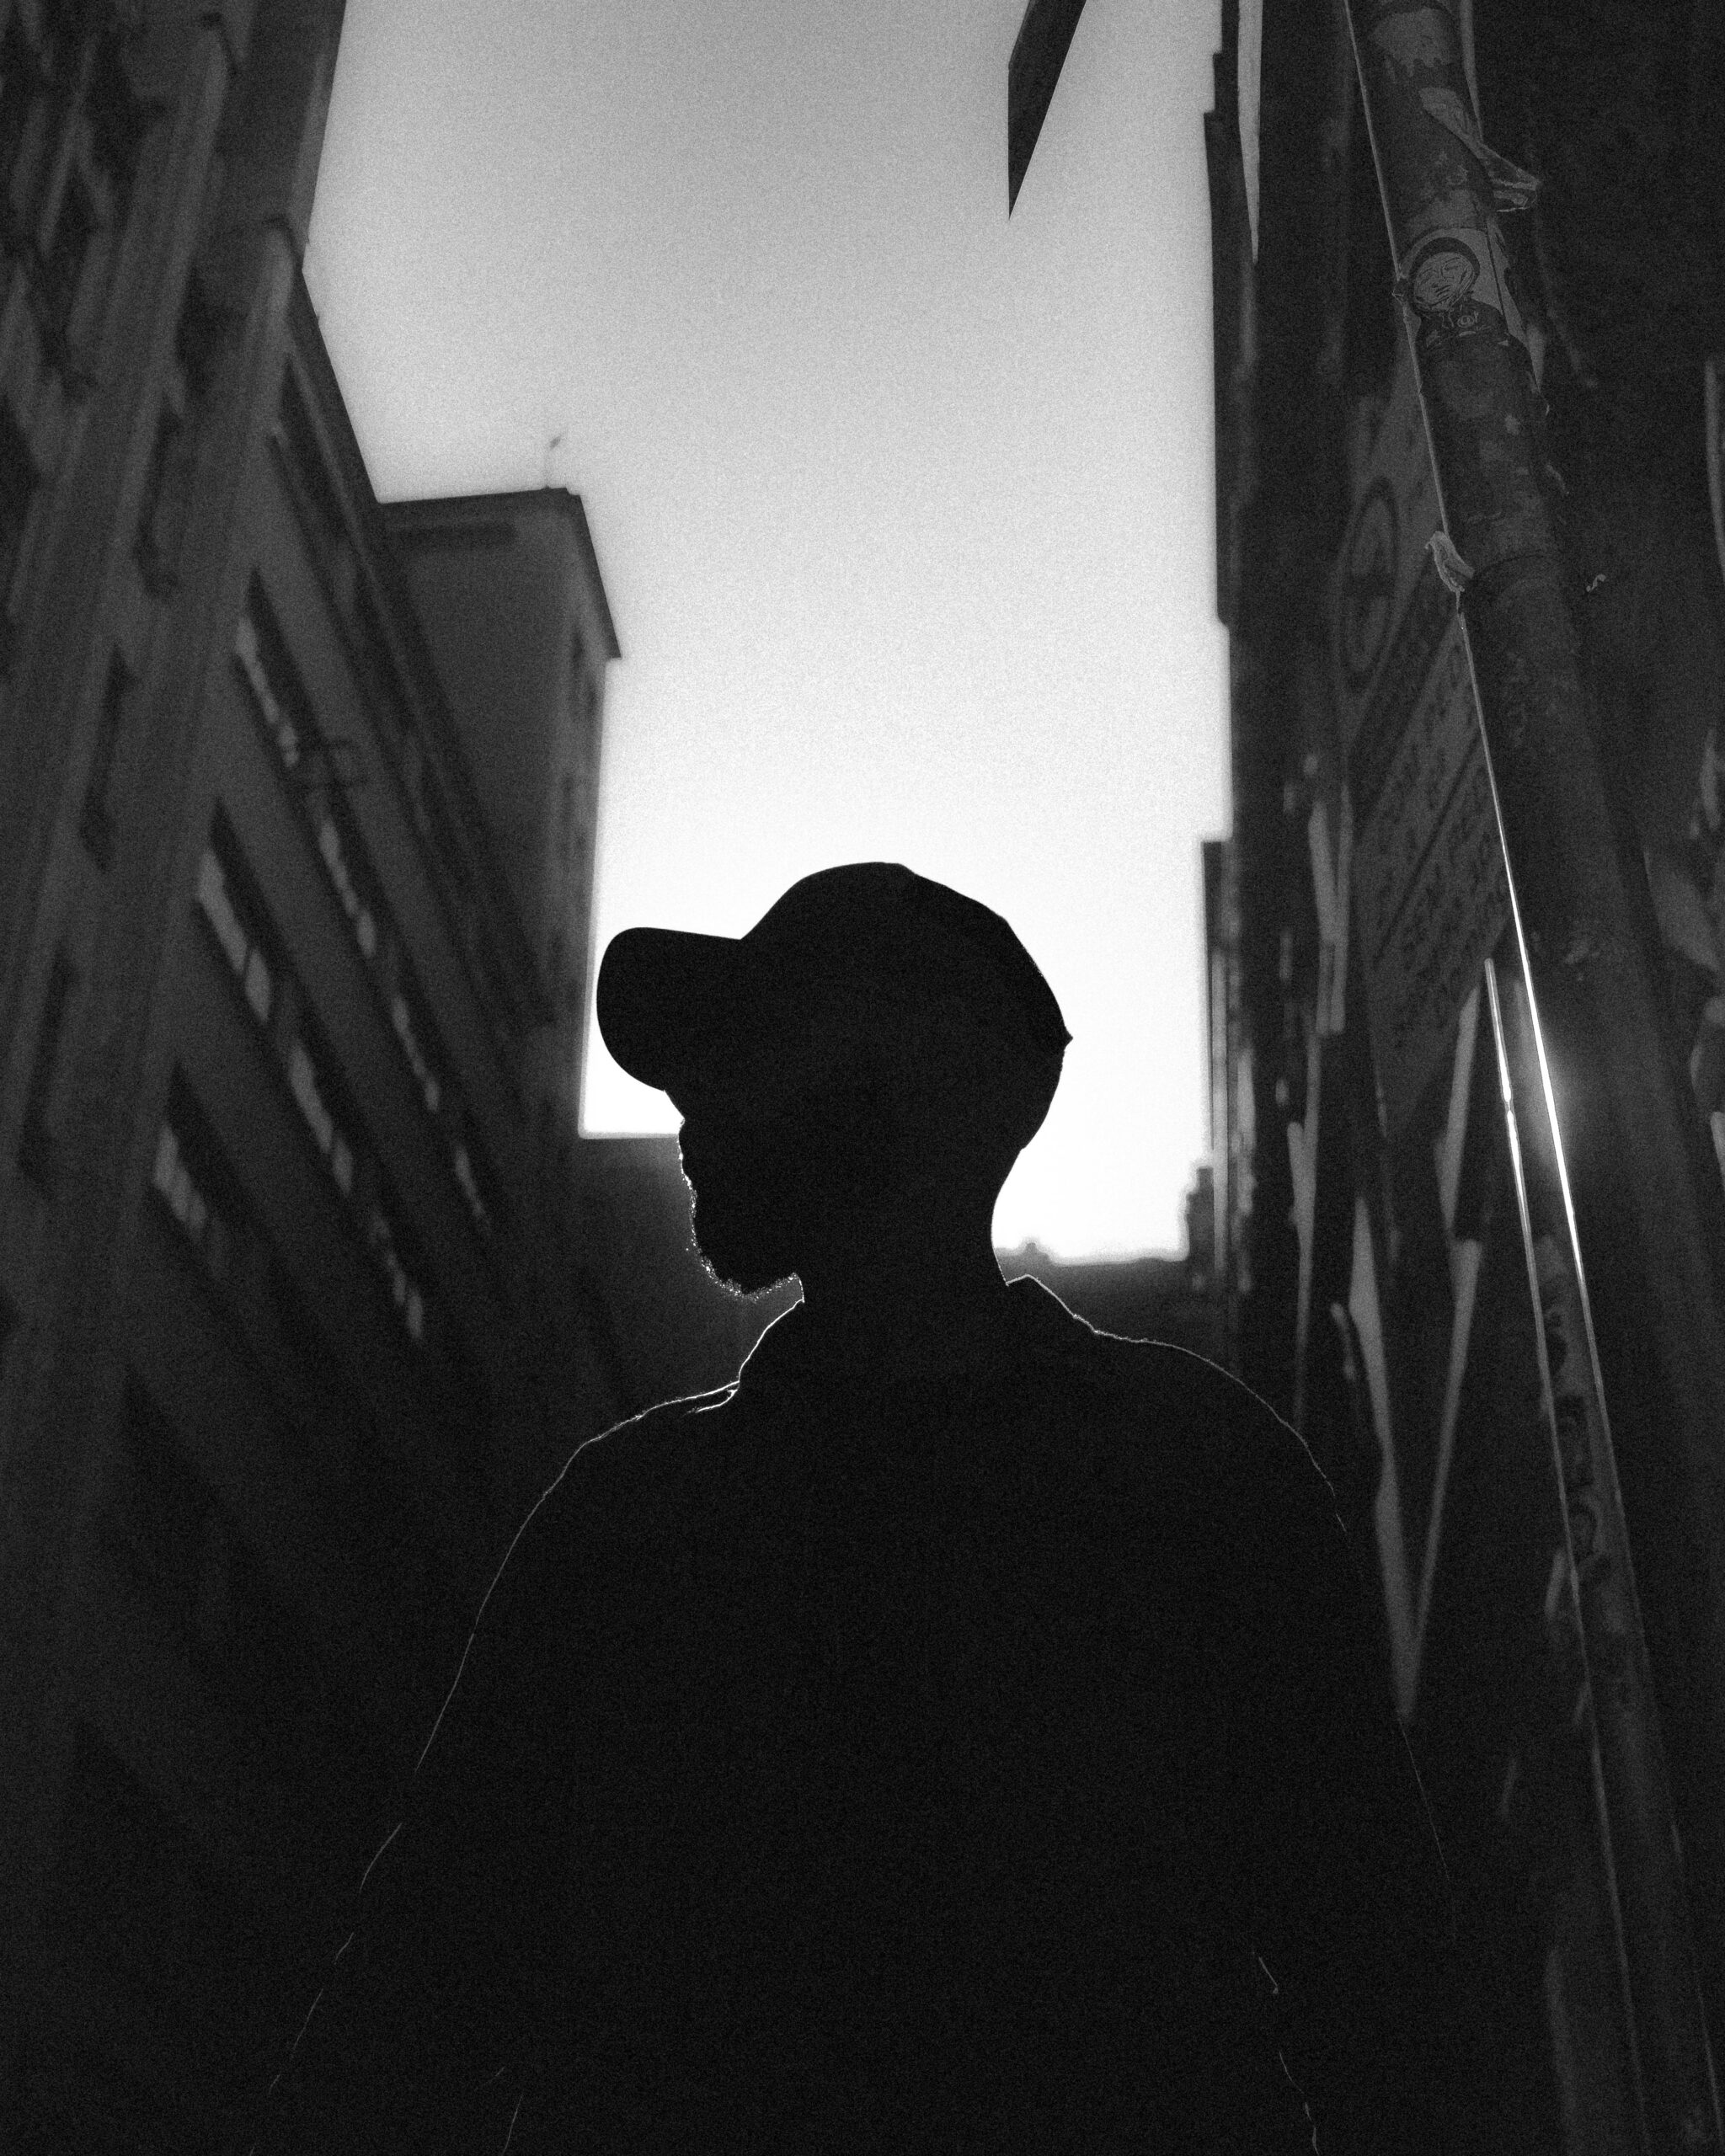
A silhouette is the simplest dramatic shot in the toolkit. It also looks deeply intentional, even when you stumble into it.
The setup: position yourself so your subject is between you and a strong light source.
Sunset and sunrise are obvious choices because the sun is low enough to put a person in front of it.
But you don’t need golden hour — a bright sky, a lit storefront window, a streetlight at night, a subway tunnel mouth all work.
Frame the shot, then meter for the bright background. On iPhone: tap on the bright area to lock exposure there. On a real camera: spot meter the highlights, or dial in -1 to -2 stops of exposure compensation.
Your subject goes black. That’s the point. You’re trading detail for shape — and shape is what carries a silhouette.
If you can get a clean profile (face turned sideways, hat or umbrella distinct, hands visible), you’ve got a strong frame.
Cluttered silhouettes — bodies merging into background objects — don’t read.
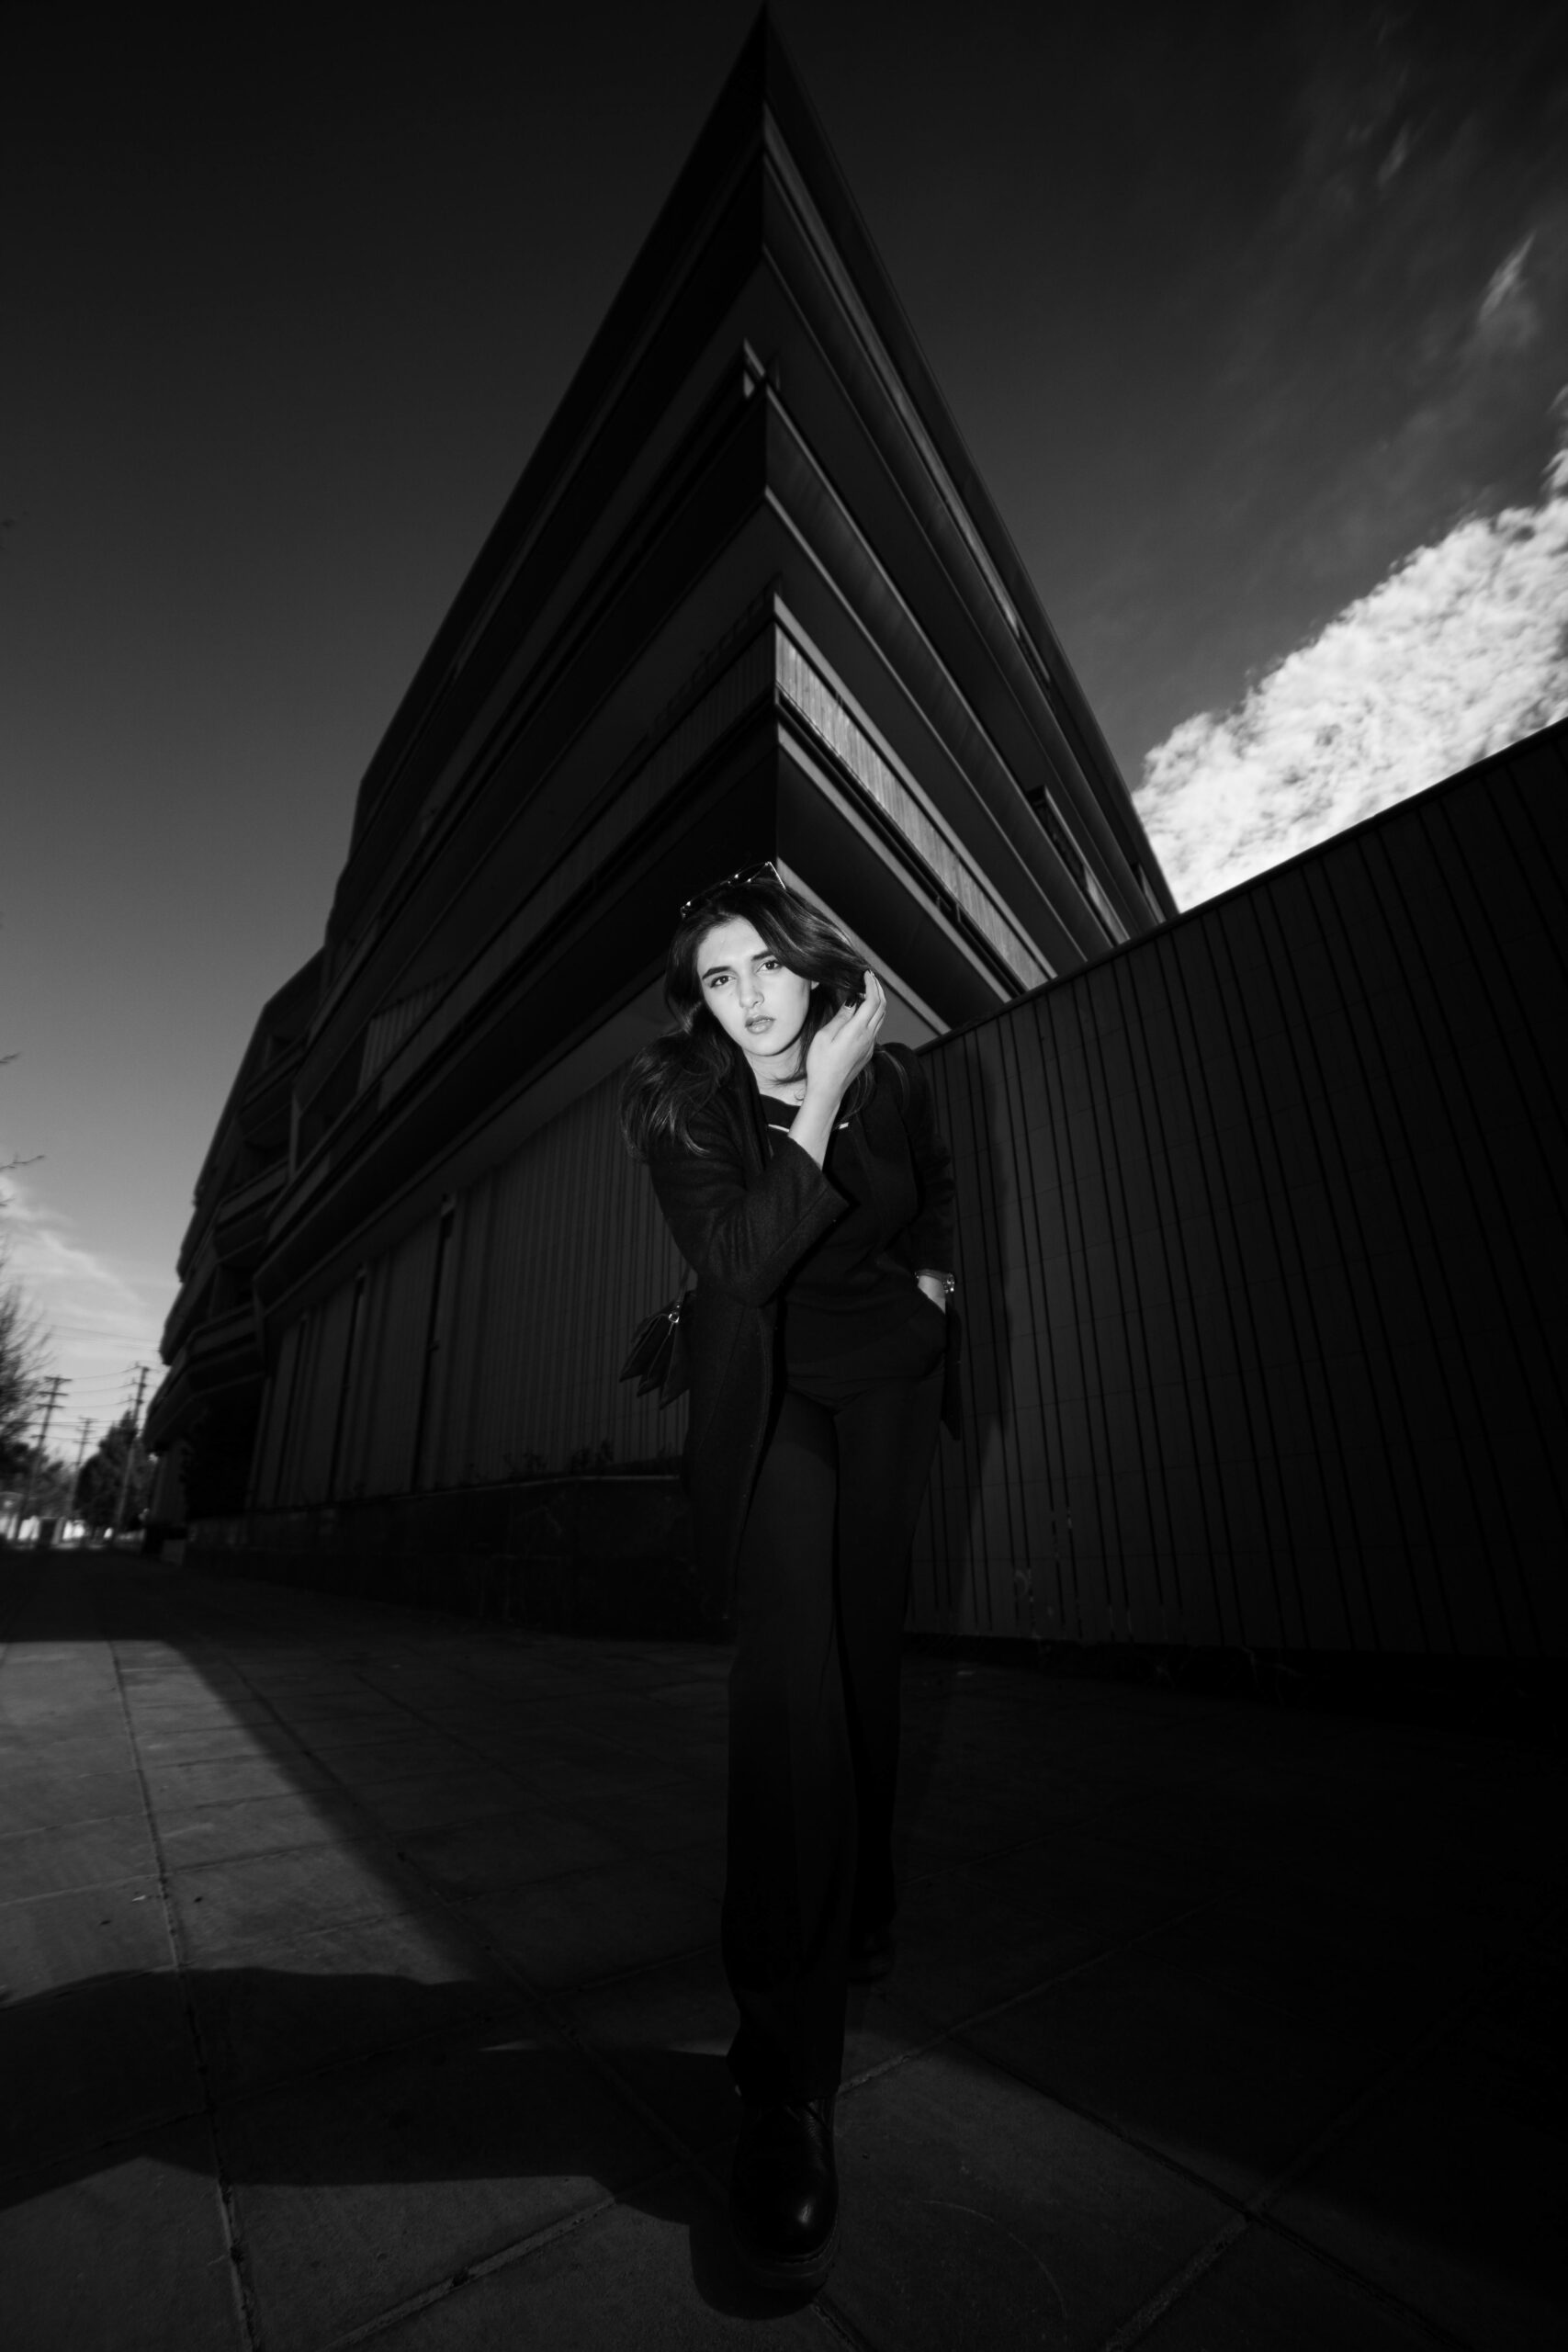
7. Make the Shadow the Subject
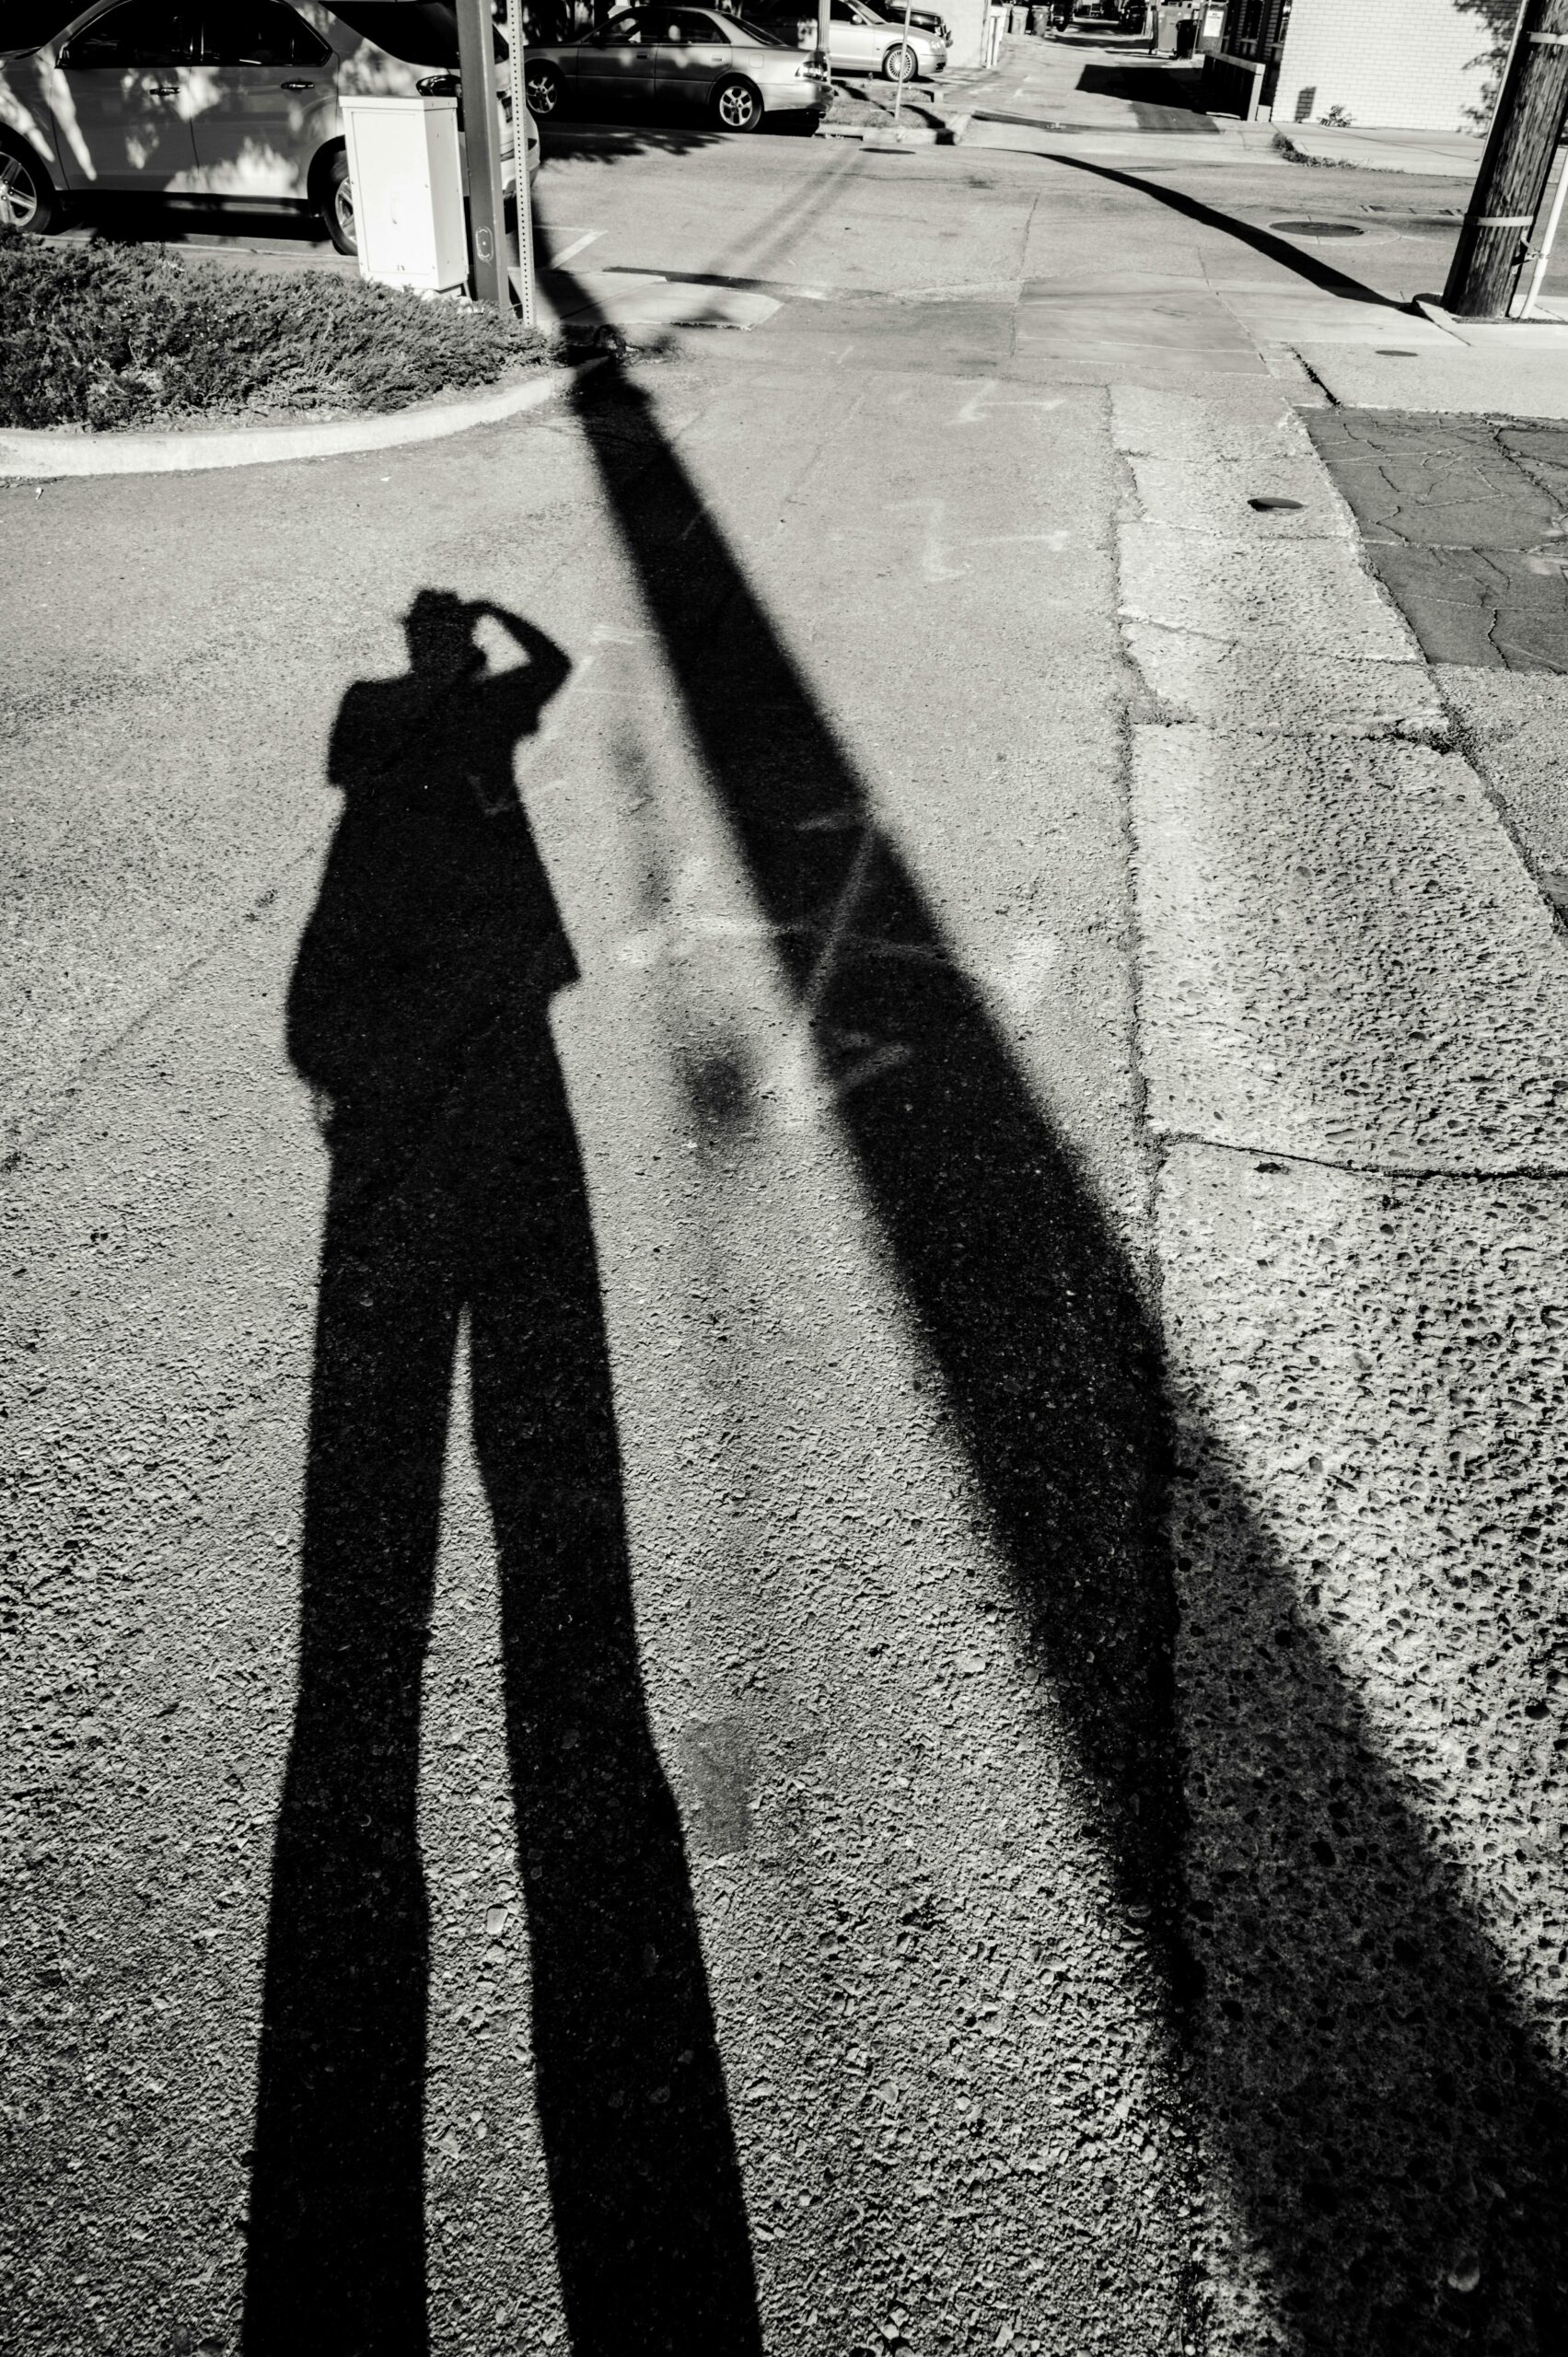
Most photographers shoot the person and let the shadow happen. Try shooting the shadow and letting the person be incidental.
This requires hard light — direct sun, late afternoon or early morning, when shadows are long and crisp. Cloudy days don’t give you anything to work with.
Walk and watch the ground.
You’ll see shadow fingers stretching across a wall, a railing painting stripes across the pavement, a person’s shadow extending fifteen feet in front of them.
At night, a single streetlight can cast a hard shape onto a building that’s worth the entire trip.
The standard street photography rules still apply: leading lines, patterns, framing. The only difference is that you’re applying them to the dark shape, not the source of it.
And yes, your own shadow counts.
A self-portrait via shadow is a small tradition in street photography. Lean into it.
Your Next Step (Plus a Bonus for iPhone Shooters)
Don’t try to apply seven techniques at once.
Pick the one that excites you most — for most people, it’s silhouettes or shadows because the visual payoff is immediate — and shoot only that for a week.
When it starts feeling automatic, add the next one.
The photographers who shoot the best black and white street work aren’t doing anything technically complicated.
They’re seeing.
The techniques above are just prompts to slow down and look at the world the way the camera does — as light, shape, and the people moving through both.
If you’re shooting on iPhone and want to keep building these skills, Urban iPhone Photography course by Clifford Pickett goes deep into capturing cities, streets, architecture, and candid moments.
(With a black and white photography eBook included as a bonus.)
Cliff has shot for Apple, Adobe, and National Geographic on nothing but his iPhone.
The course runs 277 minutes across 66 video lessons, with lifetime access and a 30-day money-back guarantee.