Look…
If you avoid taking photos when the weather turns bad, then you’re missing out on some of the most exciting and visually stunning opportunities for bad weather photography.
Rain, snow, and fog can turn ordinary streets into extraordinary scenes that tell a story.
The truth is that shooting photos in the rain, snow, and fog can add a unique mood to your images, making them more dynamic, curiosity-provoking, and storytelling-driven.
Learning iPhoneography has never been easier…
iPhone Photo Academy is my #1 recommendation to help you become a better iPhone photographer. Read my review here.
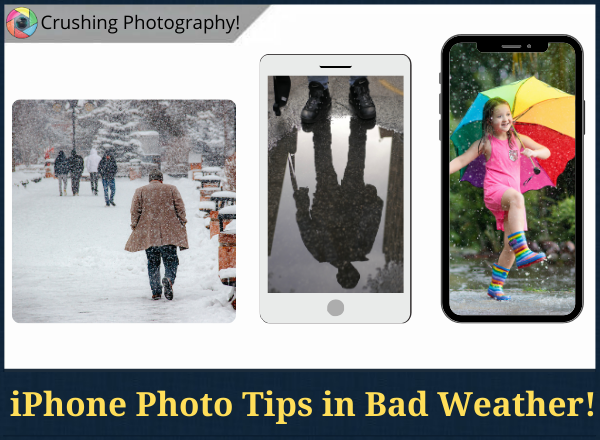
So here are 7 tips for taking incredible iPhone street photos in bad weather!
1. Unique Street Photography in the Rain
Let’s start with rain photography iPhone style.
If a rainy day make you want to leave your iPhone camera at home, then you’re missing out.
Rain can transform ordinary street scenes into something extraordinary. And you don’t even have to get wet!
(There’s a reason why rain street photography is one of the popular genres.)
When it starts raining in the city, find a sheltered spot to shoot from — bus stops, awnings, doorways, and covered walkways provide great vantage points.
Plus, rainy days bring out one of the best street photography props: umbrellas.
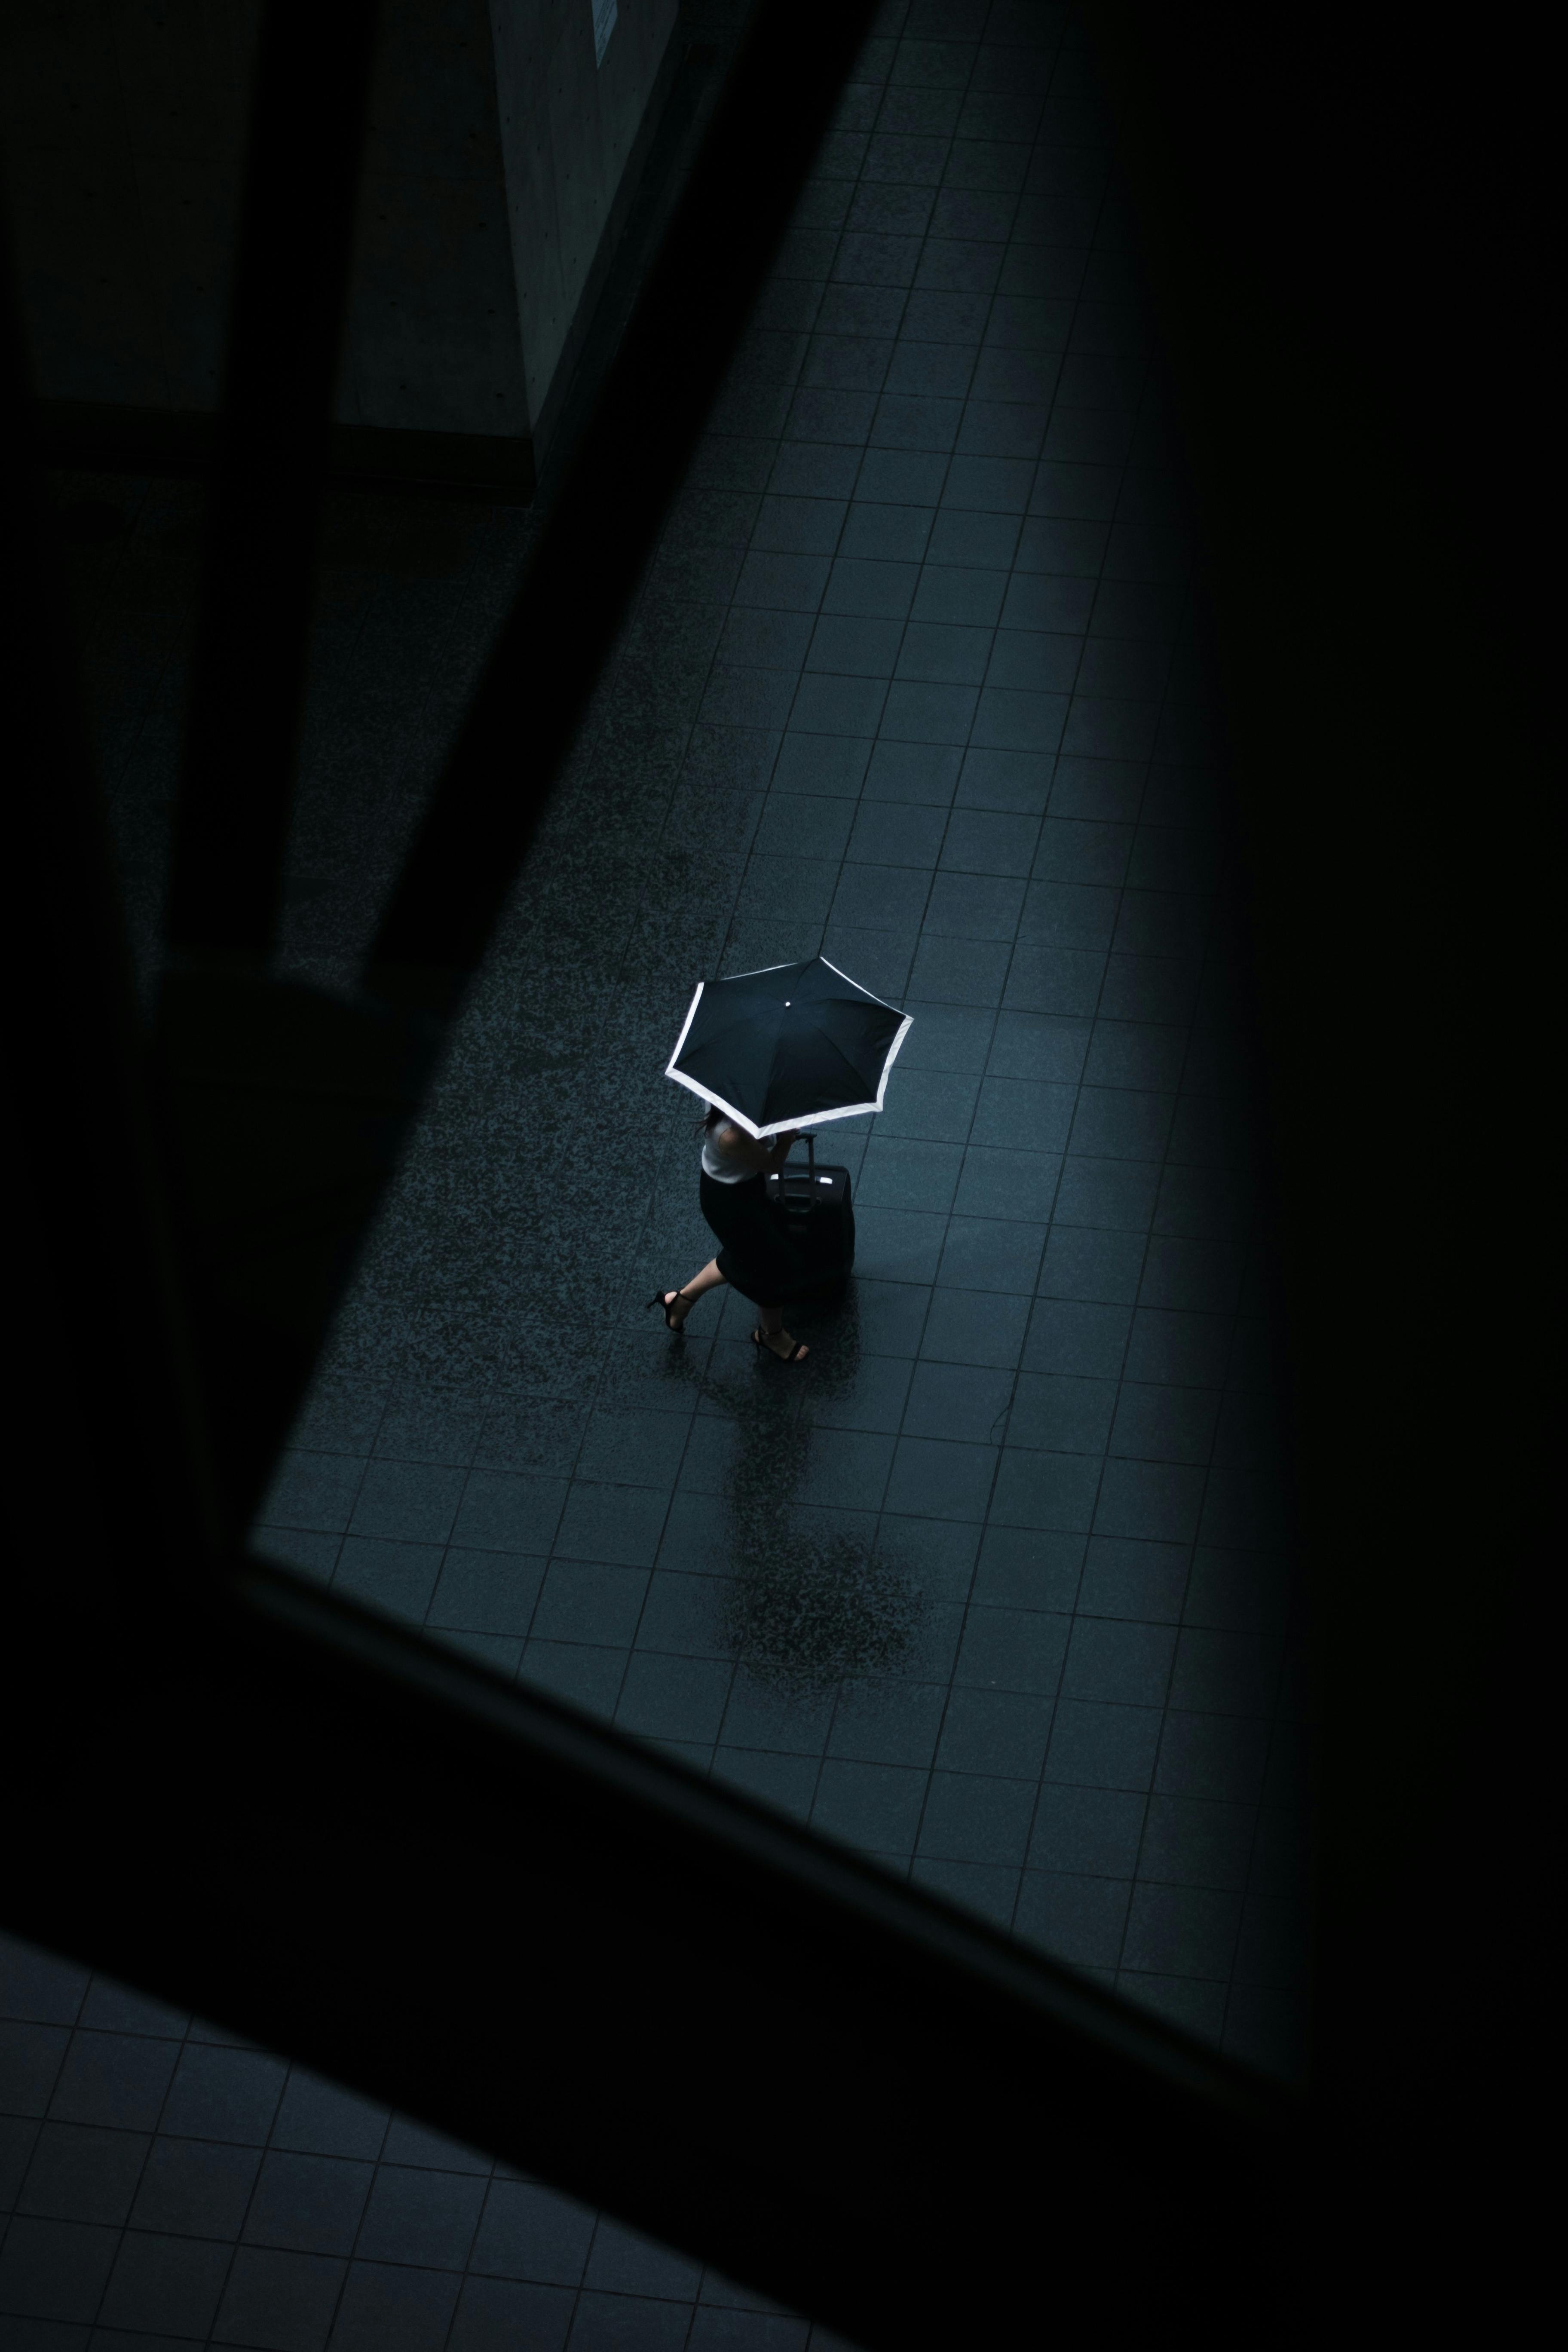
Umbrellas not only add a pop of color but also serve as strong focal points, drawing the viewer’s eye and adding a storytelling element to your shots.
So next time it rains, grab your iPhone and head out!
You’ll be surprised at how magical street photography can be in the rain.
2. Raindrops on Windows for Creative Shots
If you want to experiment with unique compositions, try shooting through a rain-covered window. Sit inside a cozy café or wait at a bus stop and capture people as they walk past.
For an even more immersive experience, hop on a bus and take photos through the window as the city rushes by.
To make these shots more artistic, get close to the glass and tap on the screen to focus on the raindrops.
This will blur the background, giving your image an abstract, dreamy feel that makes it even more compelling.
![]()
Here’s the truth…
Bad weather can be your best tool for creative street photography — once you start, you might find yourself looking forward to the next downpour!
3. Capture Striking Puddle Reflections
Next…
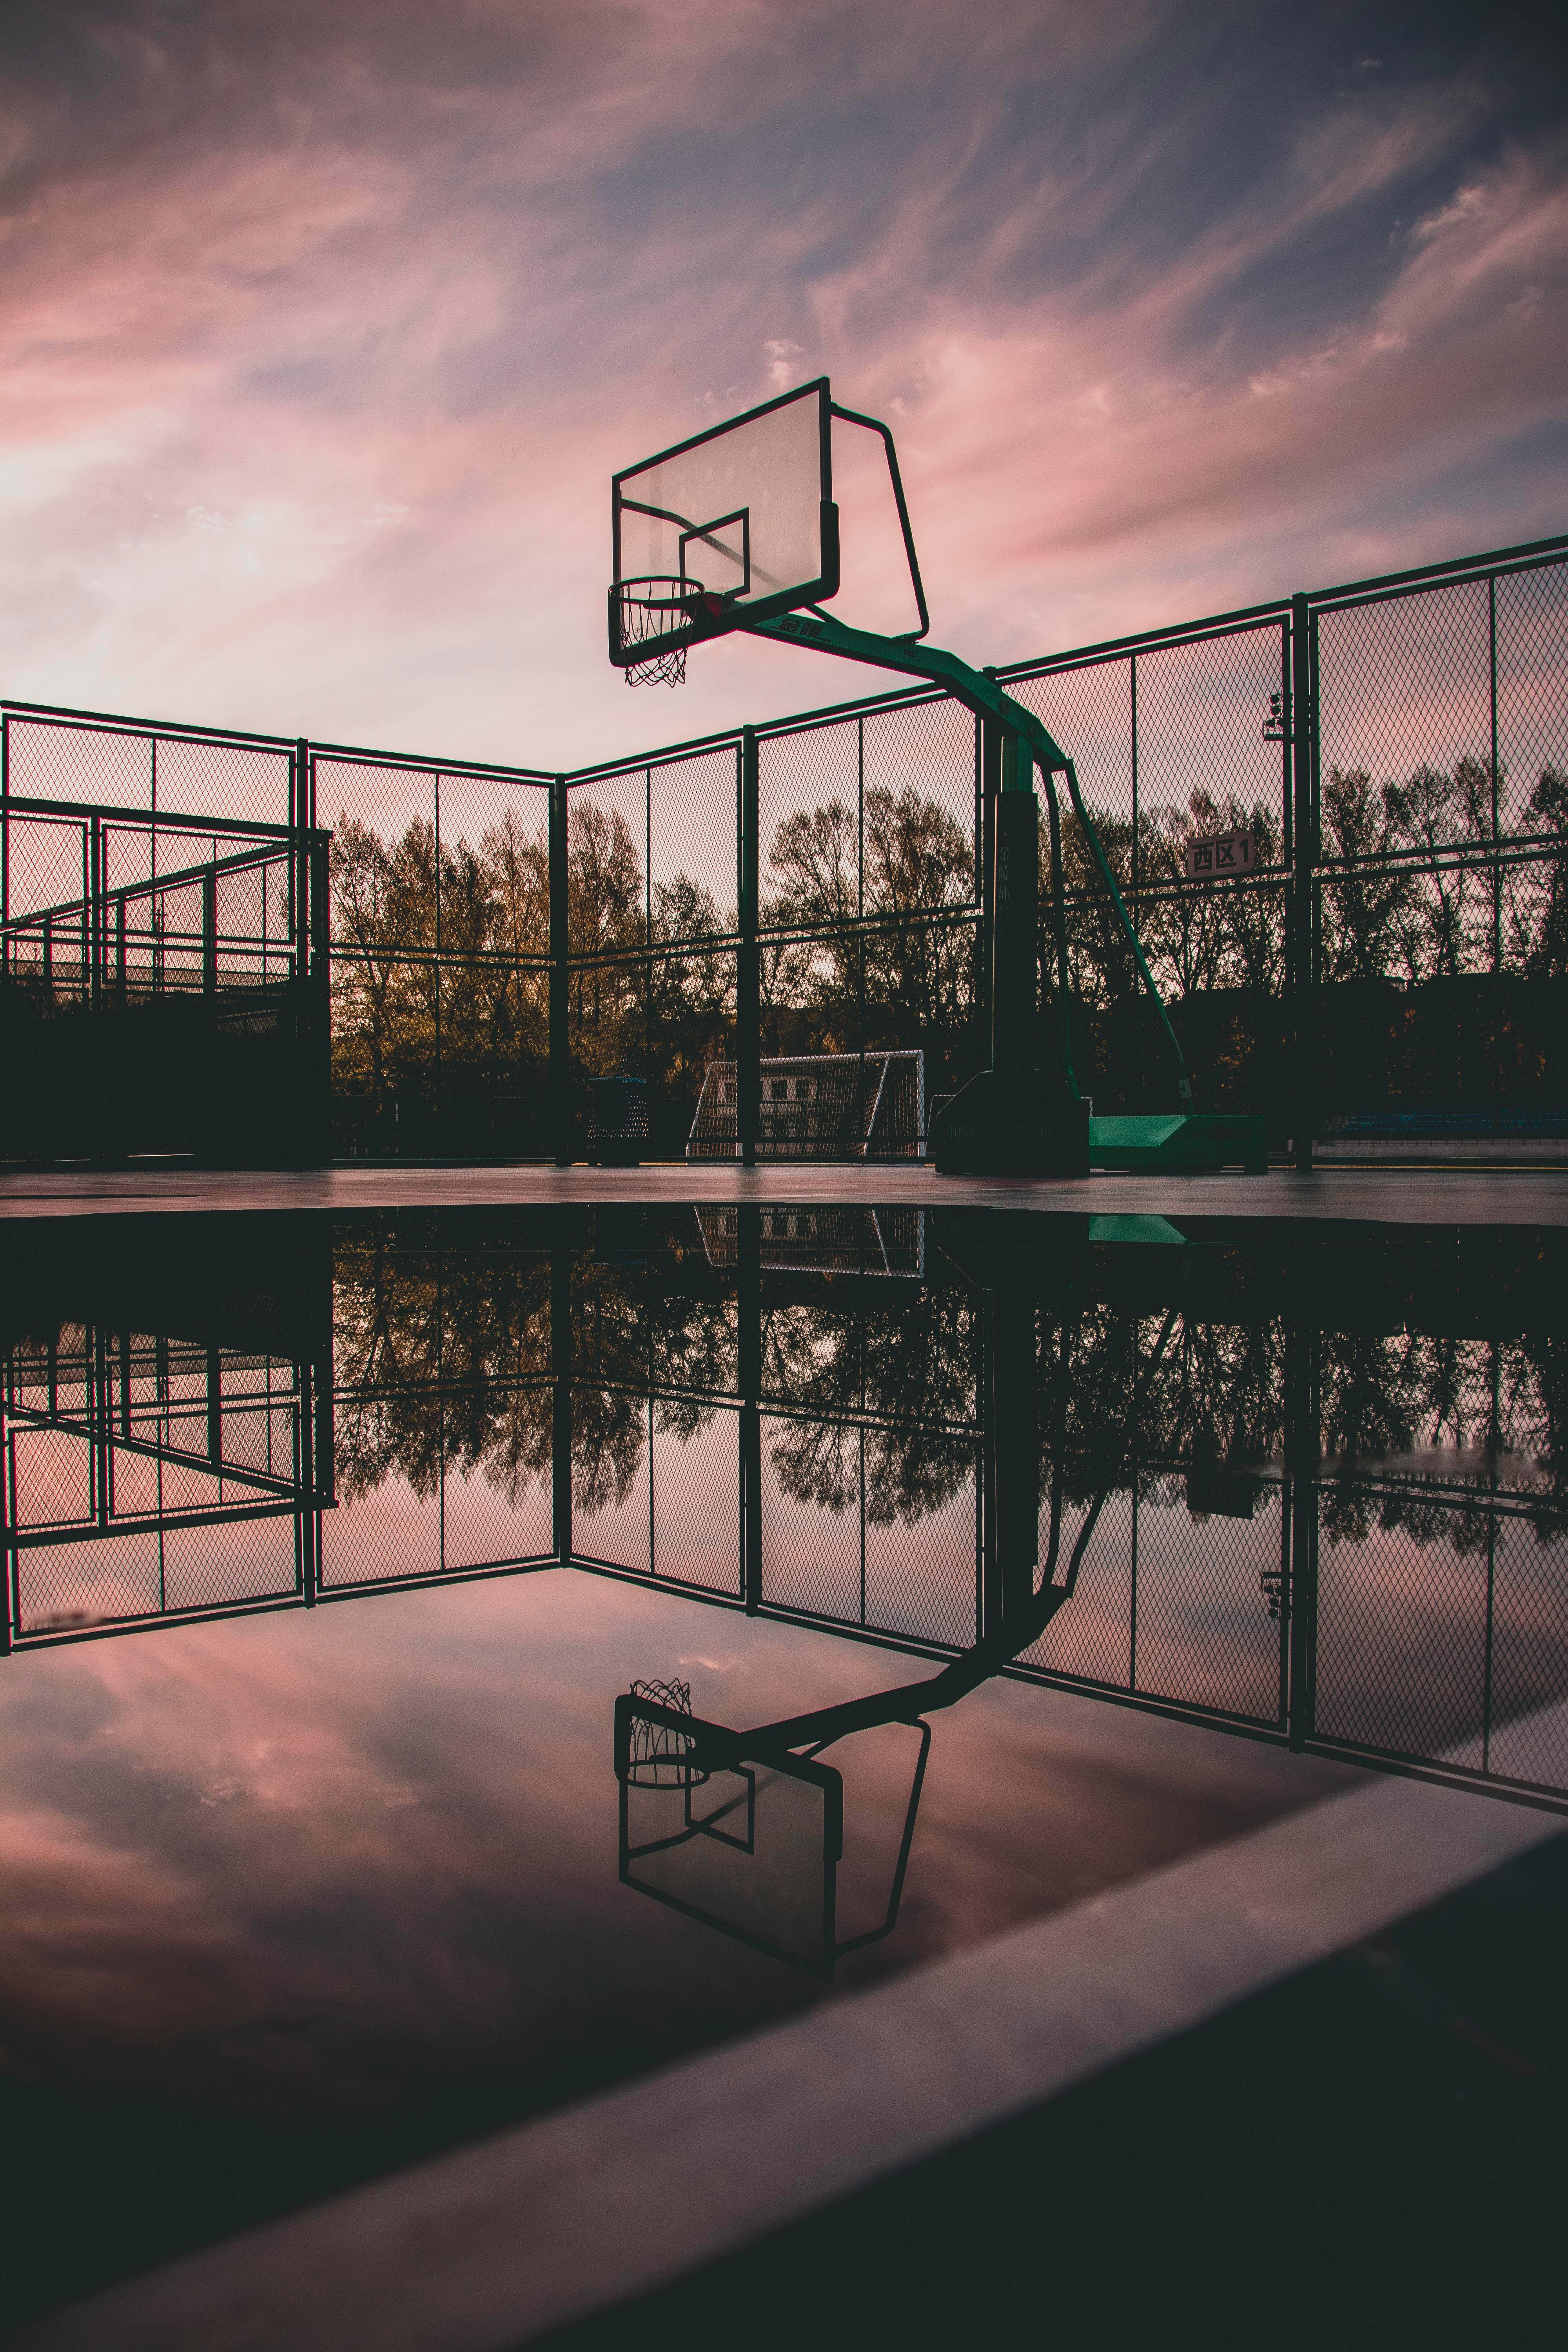
Once the rain stops, a whole new photographic opportunity presents itself: puddle reflections!
Walk around the city and look for puddles that reflect buildings, neon signs, or even passing people.
Crouch down low to maximize the reflection in your shot — yes, you might get some funny looks, but the results will be worth it!
For the best perspective, flip your iPhone upside down so the camera is as close to the water as possible. Then, wait for someone to walk through the scene and use burst mode to capture the perfect moment.
To activate burst mode, drag the shutter button toward the thumbnail preview (bottom left in vertical mode). If you’re using an older iPhone, just hold down the shutter button.
You can also flip your reflection photos for a surreal effect.
Once you’ve captured your puddle reflections, take your creativity a step further by flipping the image upside down in an editing app.
This simple trick makes the reflection appear at the top of the frame, creating a visually intriguing effect that makes viewers do a double-take.
You can do this easily in any editing app, including your iPhone’s built-in Photos app.
Playing with reflections is a fantastic way to add a surreal, artistic quality to your street photos — try it and see how it transforms your images!
4. Capture Snowy Scenes for Storytelling
Let’s face it:
Snow completely changes the look and feel of the city, making it the perfect backdrop for storytelling street photography.
Bundle up, grab your iPhone, and explore familiar locations — they’ll look entirely different covered in snow.
People’s reactions to the cold, their body language, and their interactions with the environment all make for fascinating photo opportunities.
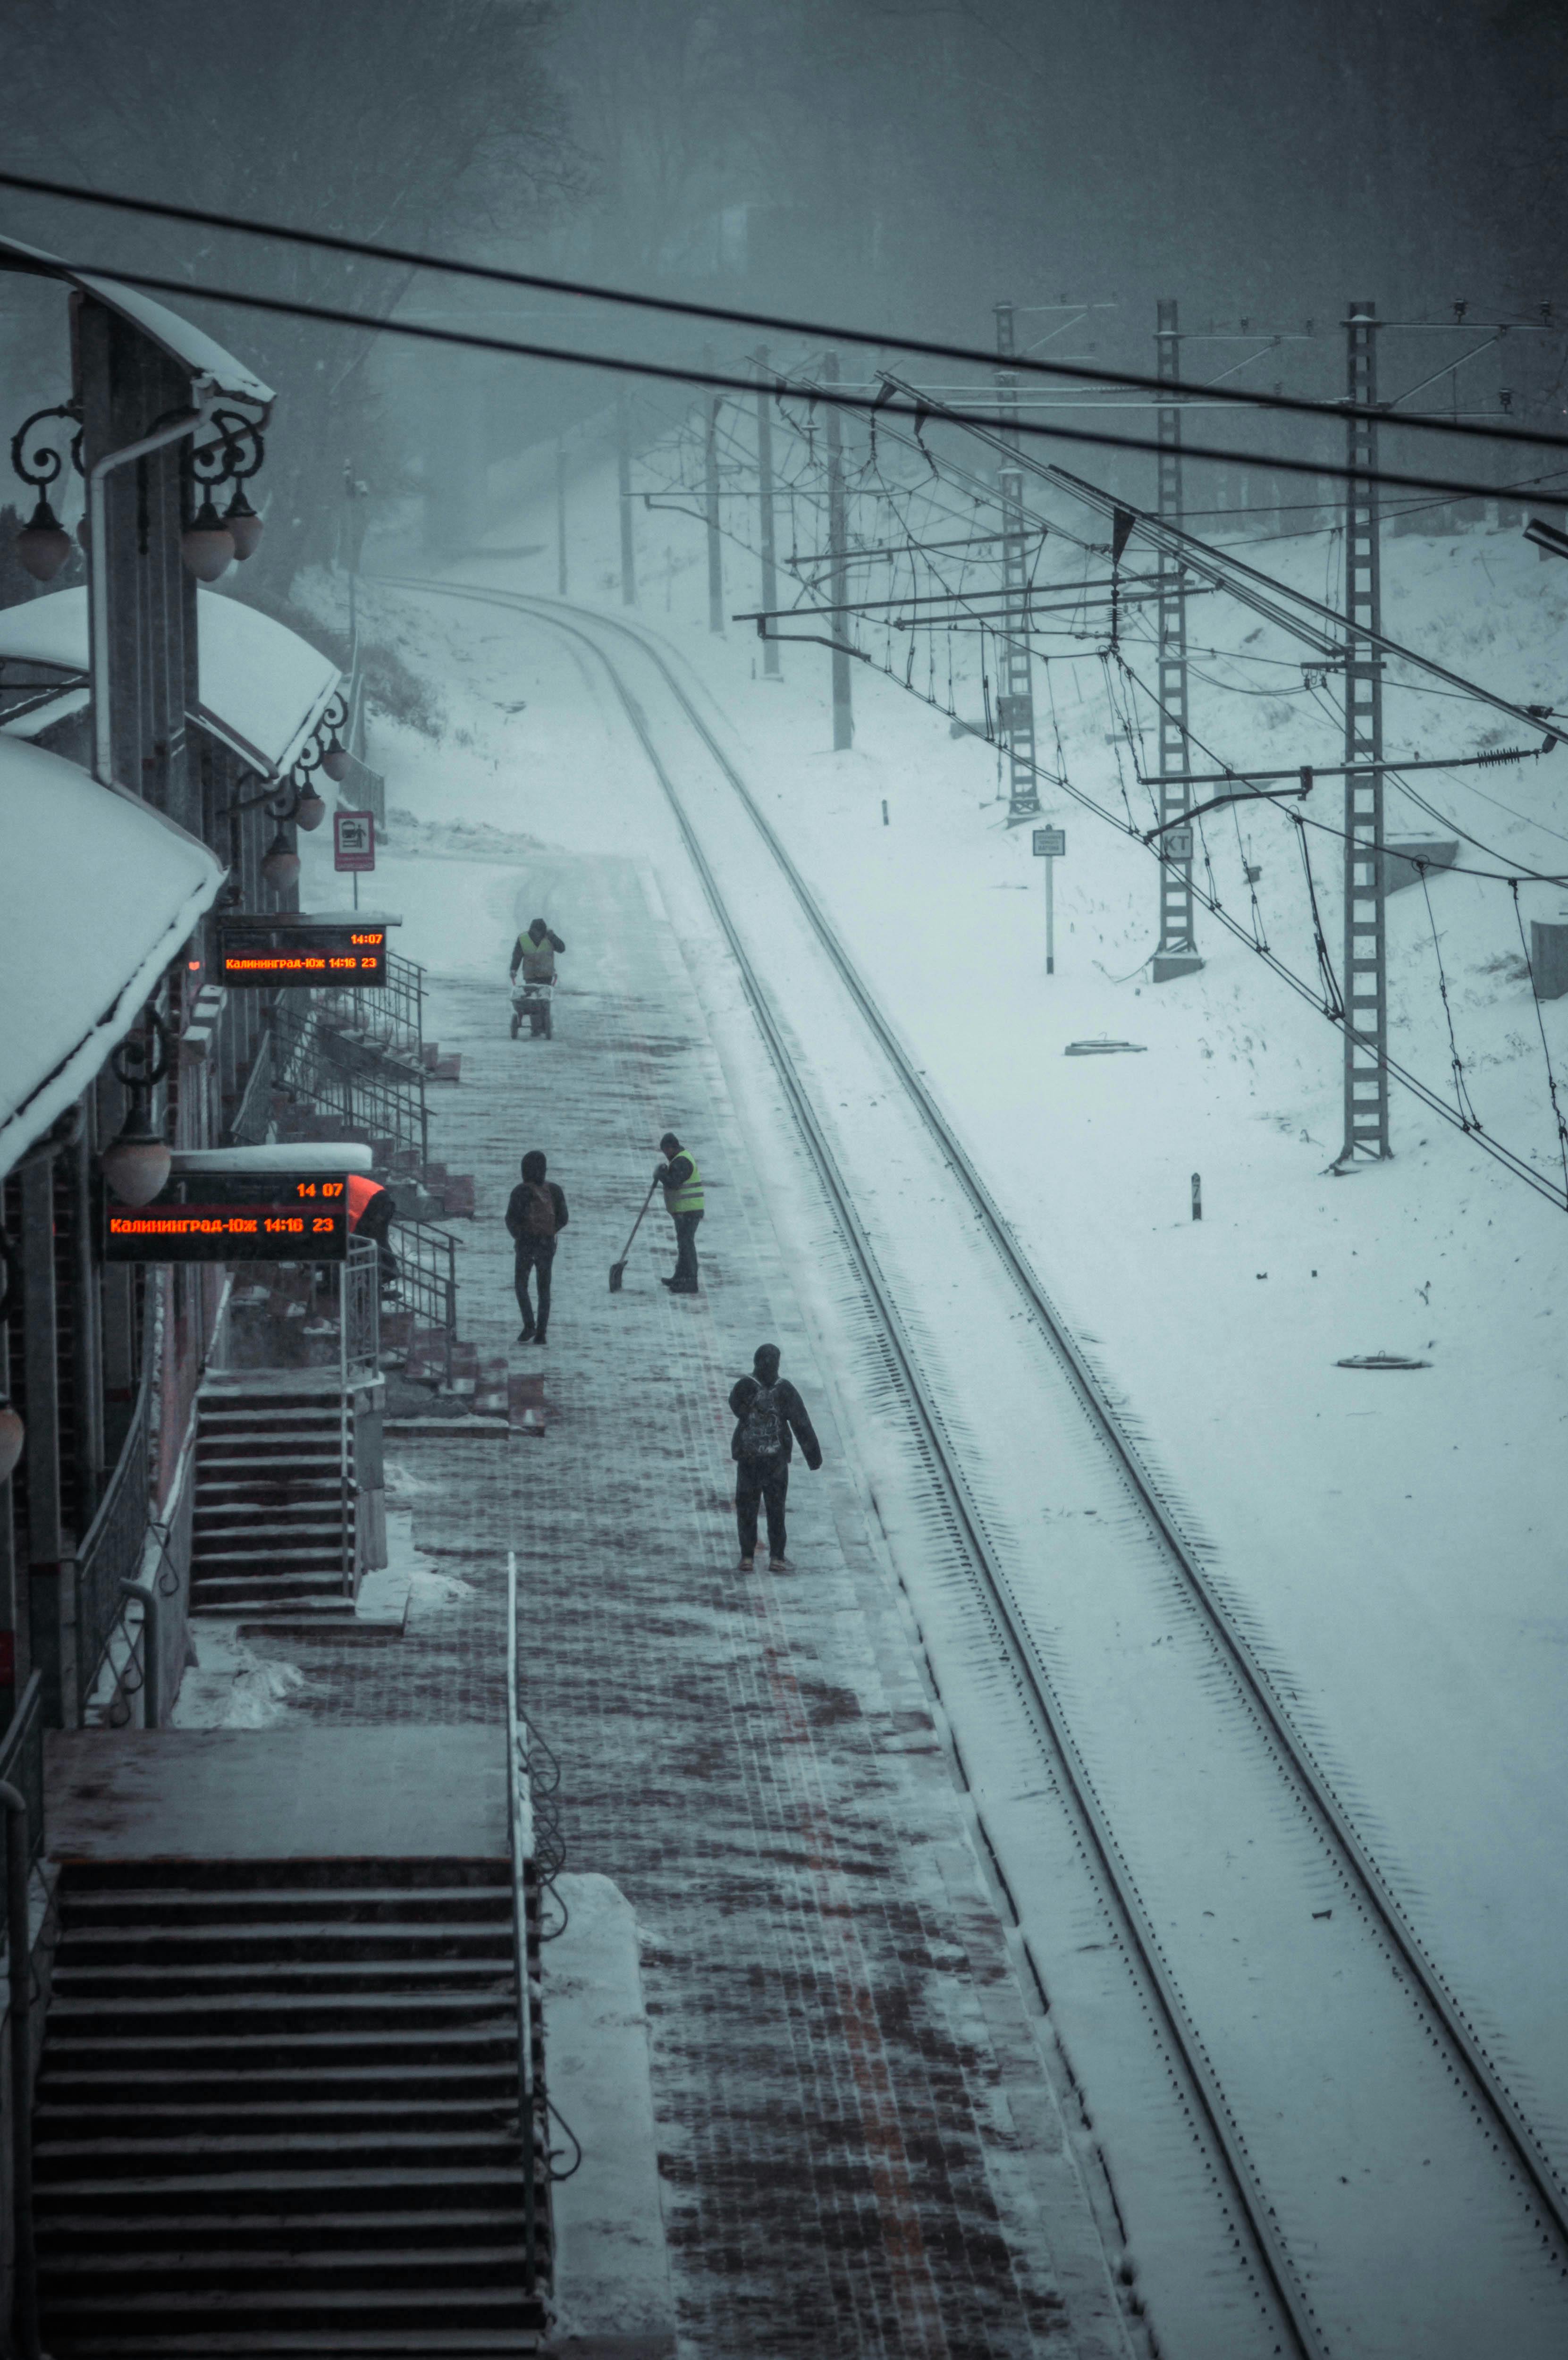
Look for subjects that stand out against the snowy backdrop—someone with a colorful coat, an umbrella shielding them from flurries, or workers clearing sidewalks.
These elements add layers to your composition and enhance the story behind the image.
One more tip is to adjust exposure for perfect shots in the snow.
The truth is that there’s a challenge of snow photography is getting the brightness right. Snow can confuse your iPhone’s exposure settings, often making your images look too dark or dull.
To fix this, simply tap the screen to set focus, then swipe up to increase brightness. This ensures the snow looks crisp and white instead of gray.
You can also use exposure creatively—brighten your image for an airy, ethereal feel or darken it for a moody, dramatic look.
And if you don’t get it perfect in-camera, you can always fine-tune the exposure in an editing app later!
5. Use Fog for Mysterious and Dreamlike Photos
Let’s face it…
Fog is one of the most atmospheric weather conditions for street photography. It softens details, mutes colors, and creates an eerie, dreamlike quality in your images.
Whenever I see fog rolling in, I drop everything and head out to capture its magic!
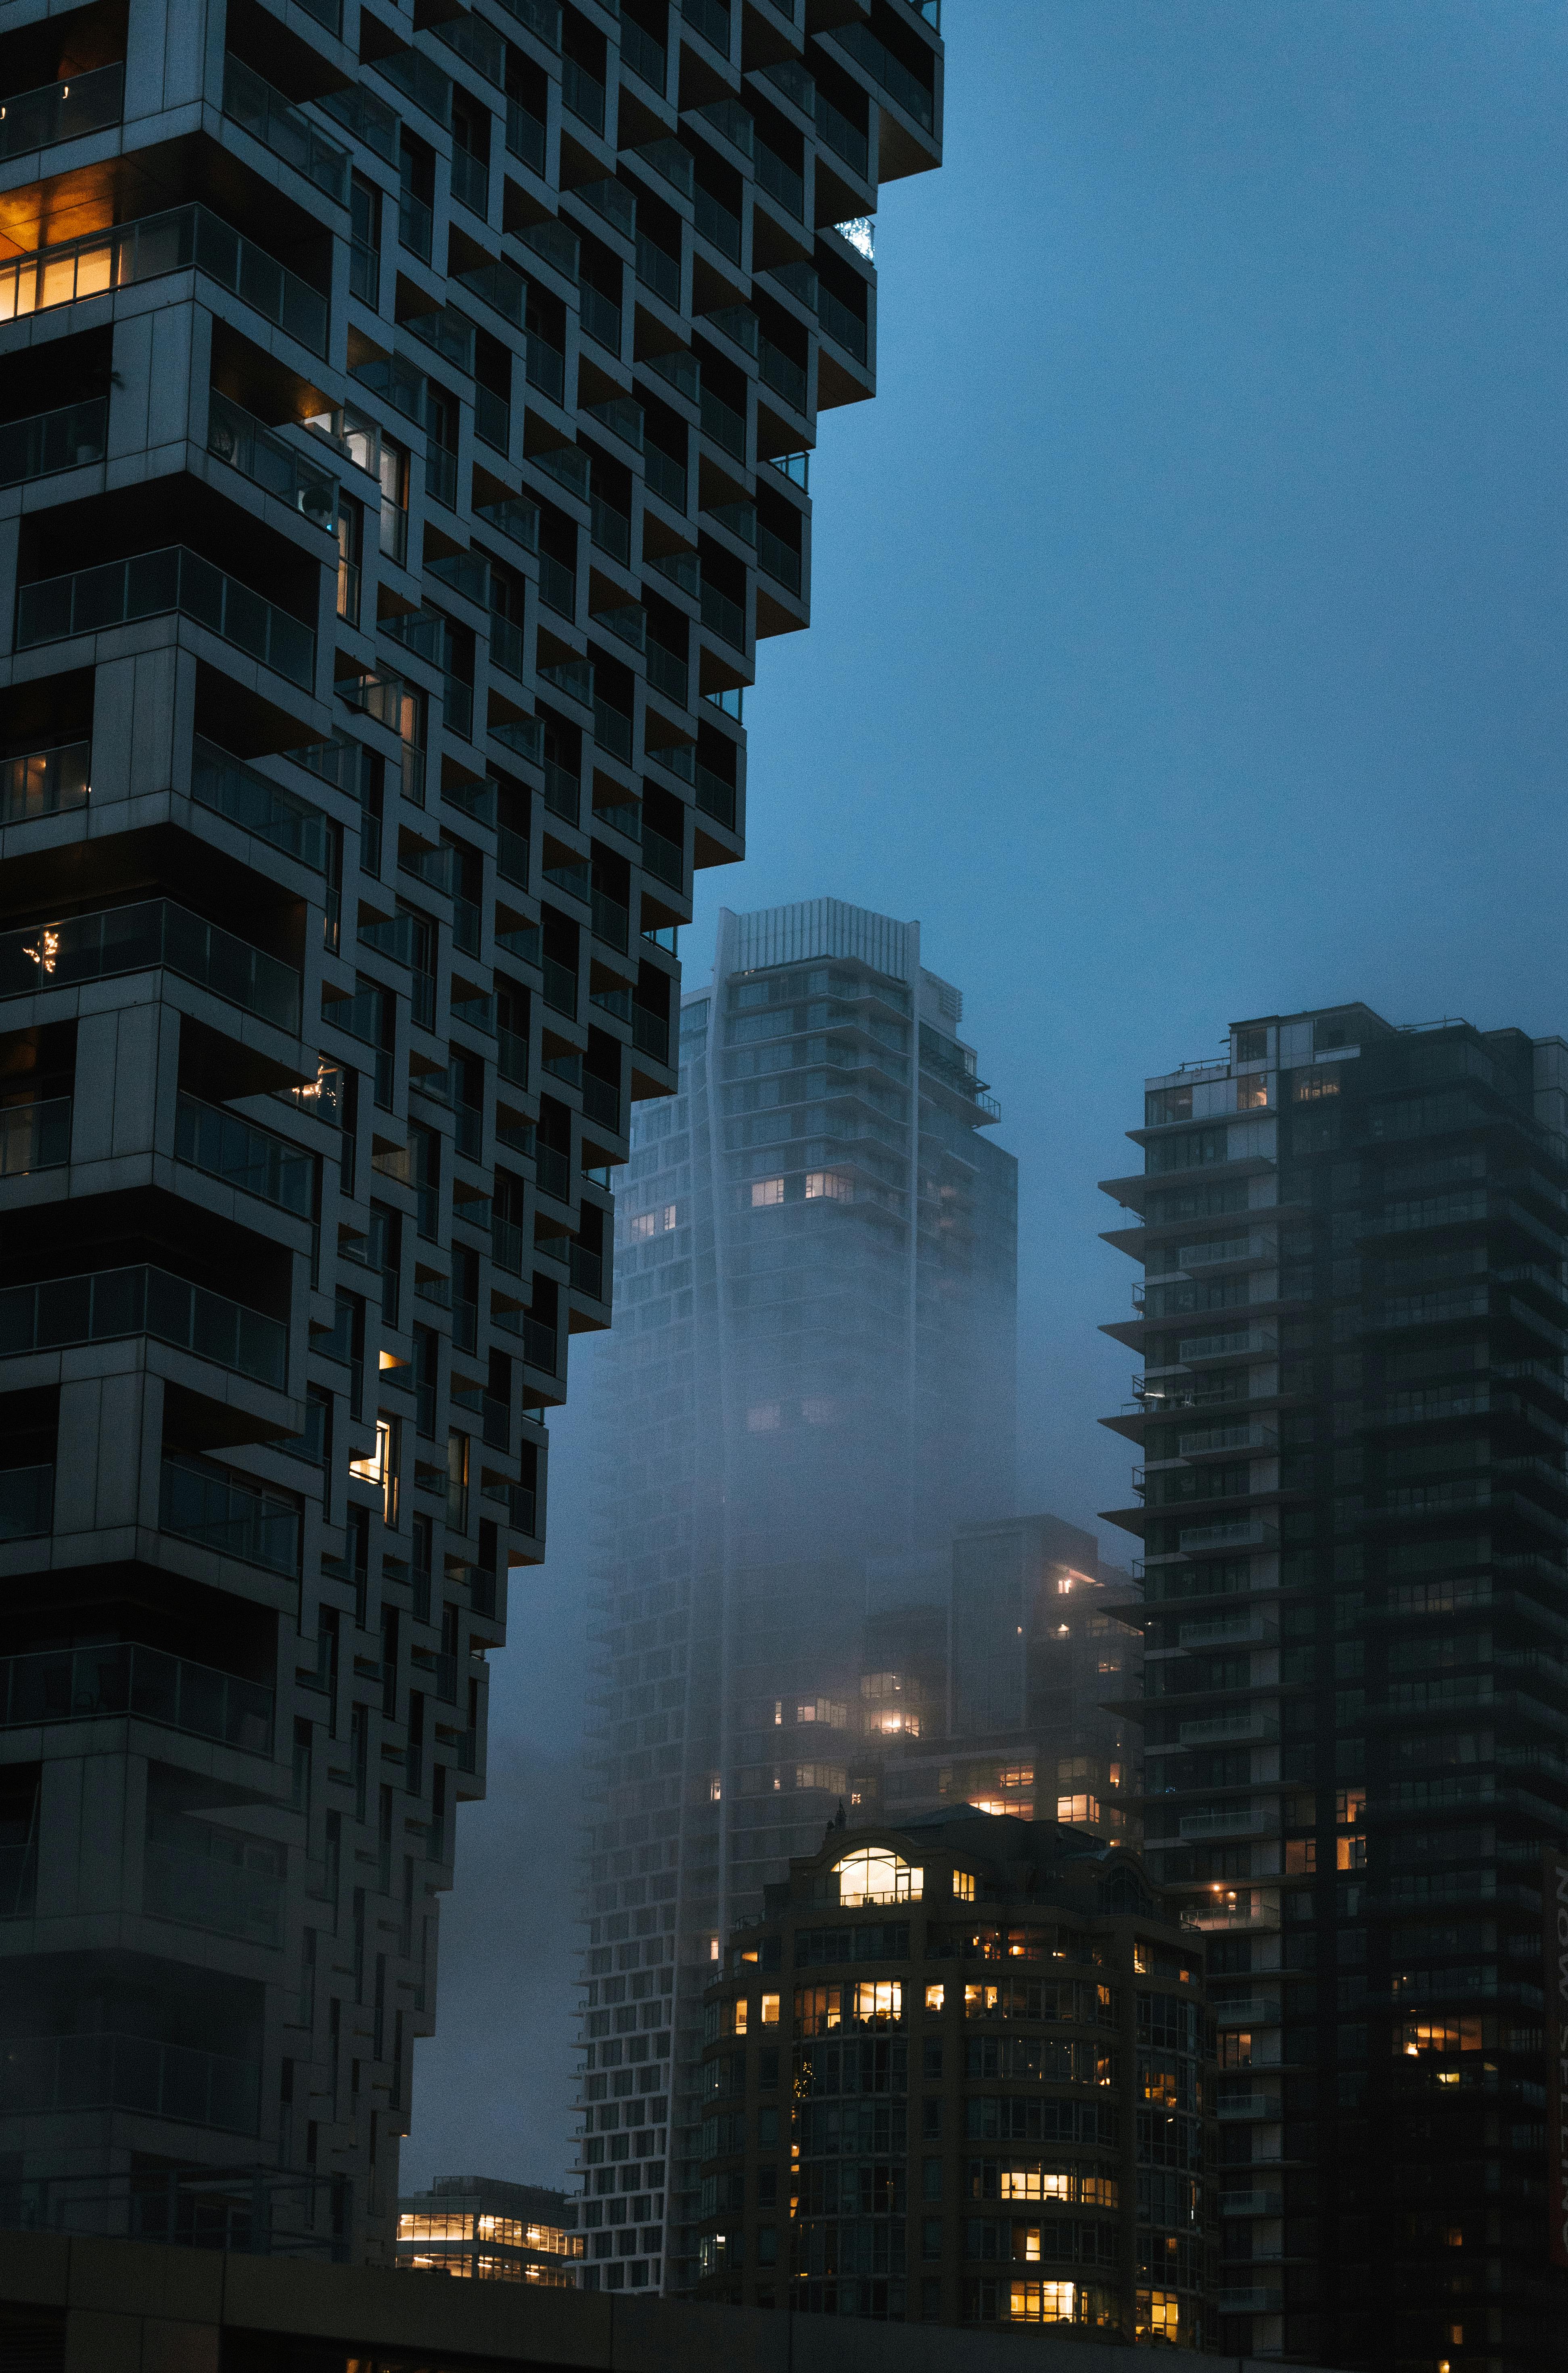
For the best results, find a lone figure and position them against the brighter background. Fog creates beautiful silhouettes, which add mystery and depth to your shots.
Look for strong leading lines — bridges, roads, or paths disappearing into the fog. These elements create depth and make the viewer feel as if they’re stepping into another world.
To enhance the silhouette effect, tap to focus on your subject, then swipe down to reduce exposure. This will make the foreground figure darker while keeping the foggy background light and ethereal.
6. Convert Your Photos to B&W for a Dramatic Effect
One challenge of shooting in bad weather is that colors can sometimes appear dull and lifeless.
A simple way to enhance your moody street photos is by converting them to black and white.
(Be sure to check out the iPhone Editing Academy course to learn all the editing tips and tricks!)
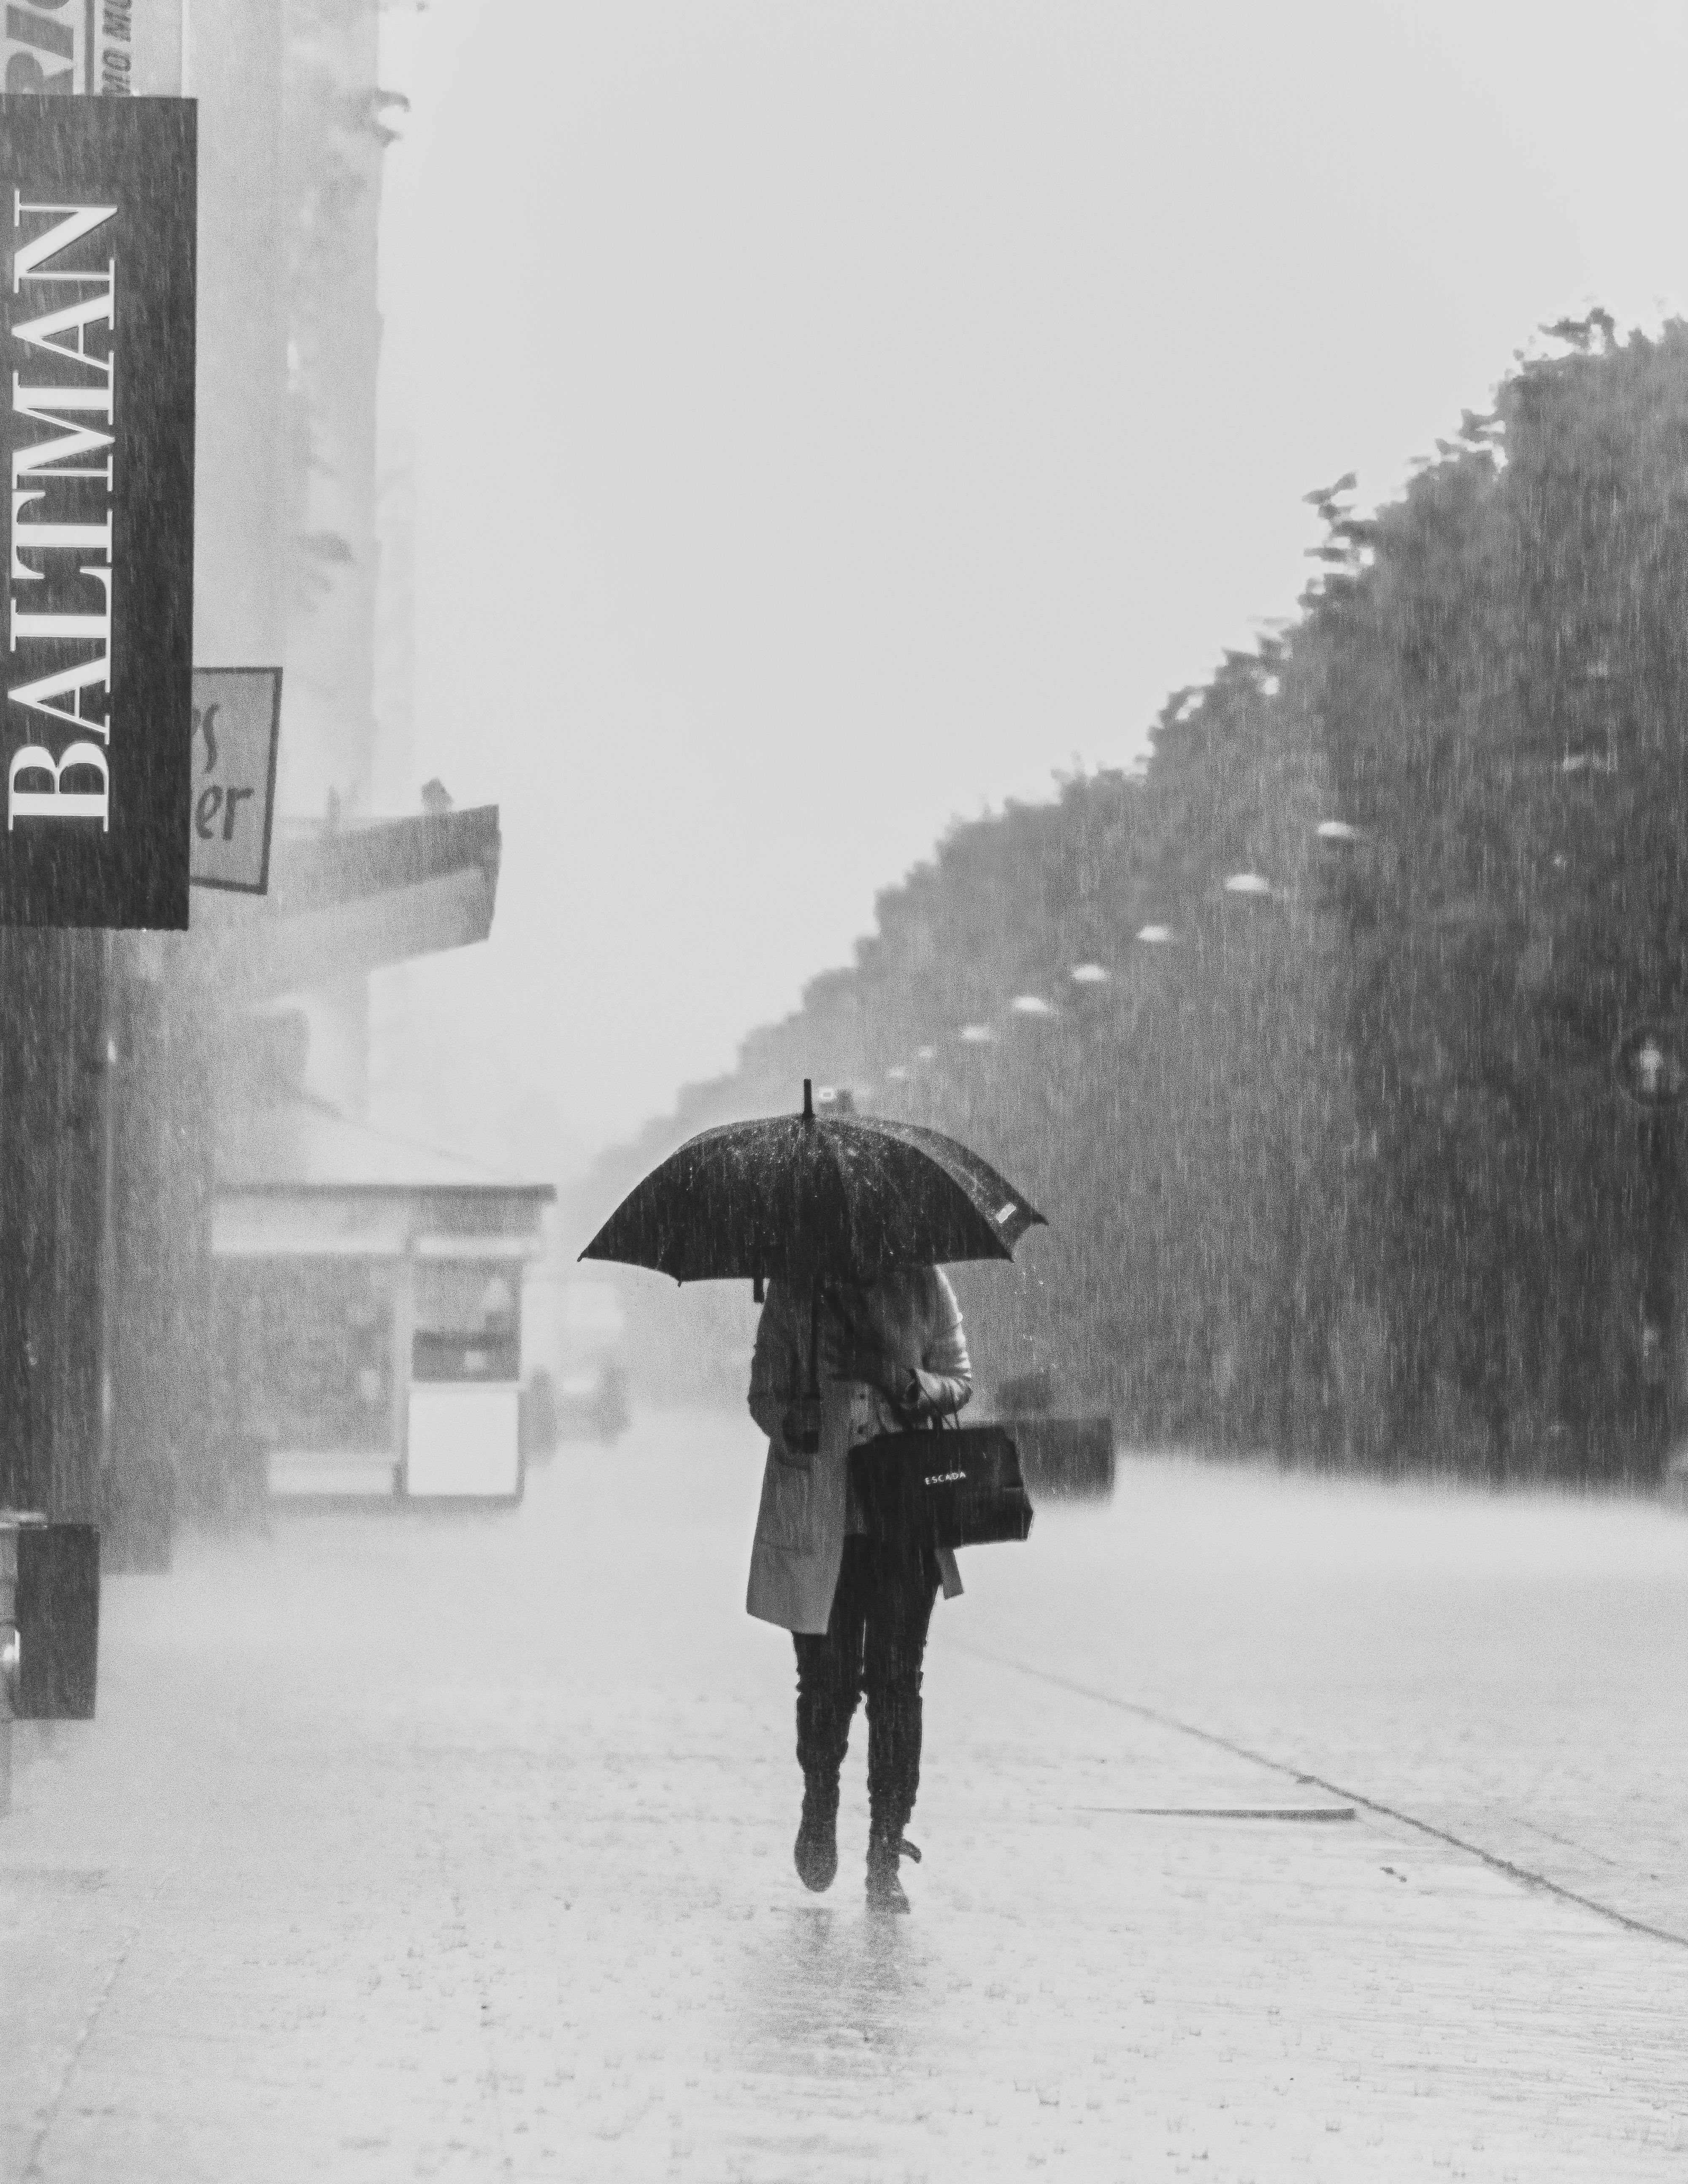
Removing color helps emphasize the contrast, textures, and tones in your image, making the scene feel more powerful.
For the best black and white street photography shots, look for high-contrast areas—bright streetlights, shadows cast on buildings, or reflections in wet pavement. Once you train your eye to see in black and white, you’ll start noticing perfect compositions everywhere!
7. Experiment with Black & White Editing Apps
If you love the black and white aesthetic, try experimenting with different editing apps. Lightroom, Snapseed, and Blackie all offer excellent tools for fine-tuning contrast, highlights, and shadows.
You can go for a clean, high-contrast look or add grain for a vintage film effect. There’s no right or wrong — it all comes down to your personal style and the mood you want to create.
Of course, if you prefer to keep your rainy or snowy street shots in color, that’s perfectly fine too. The key is to experiment and find what works best for your vision.
iPhone Street Photography: My Final Thoughts
So, how to take pictures in bad weather?
The truth is…
Bad weather doesn’t mean bad photos – it means more creative opportunities!

Whether it’s rain, snow, or fog, these conditions can add drama, depth, and storytelling elements to your iPhone street photography.
So the next time the day turns gloomy, don’t stay inside, use it to create challenging weather photography.
Head out with your iPhone and embrace the elements – you might just capture some of your most striking street shots yet!
Ready to crush it as an iPhone photographer?
Get this practical photography course to take you from zero to photography hero. Join the course now.